Objective
Main objective of this blog post is to give you an idea about 3Ds Max Mental Ray Caustics.
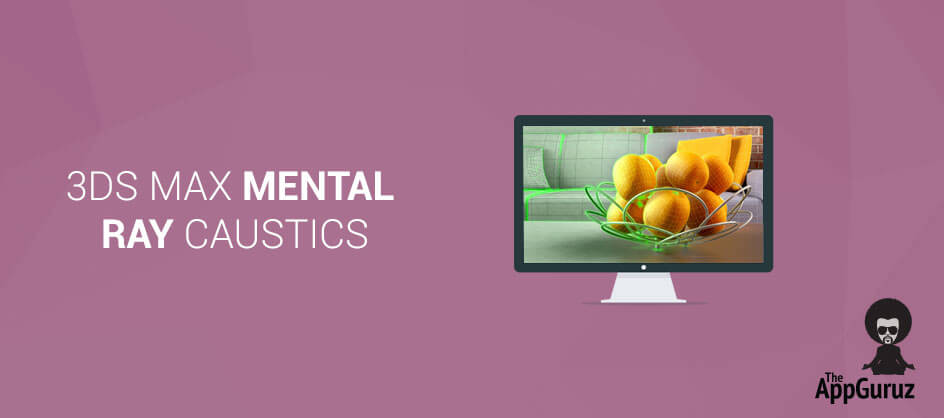
You will get final output:

Step 1 Info
We are able to simulate this effect with 3D Studio Max perfactly. This Tutorial is about causitc which will works only if Mental Ray is enable.
1.1 Create Environment for Light Setup
Create a box. Create lights to illuminate the box. There are some techniques which are used to create correct illumination.
In this box I have created 3 free area lights:

1.2 Basic Lighting Setup
1.2.1 Material Setup for Perticular Object
Place it under three other boxes. Select the bottom polygon of the boxes and assign a white self-illuminated material on it.

1.3 Render Setup
1.3.1 Edit Attributes of Caustic & Photon Mapping (GI)
To get a realistic illumination, I have enabled Final Gather in indirect illumination. I have put high numbers in samples to make the final rendering.

1.4 Properties
1.4.1 Lights & Objects Property Setup
After you have made the box you must create the plane with water material. You can create it with a simple box as transparent water material creates a Ray trace material. To create a wave effect assign bump map a noise map with small size. To simulate noise/wave effect through geometry deformation you must apply a noise modifier to the box.
Wave size will affect the caustic shapes. Bigger wave/noise results into bigger caustic shapes!!
After it, create MR.AreaOmni light on top of the water in the center of the box. Now make a right mouse button click on the MR.AreaOmni and disable AFFECT SPECULAR and AFFECT DIFFUSE. Get a realistic illumination by enabling Final Gather in indirect illumination. I have put a number of samples to make the final rendering.

1.4.2 Selection of Lights & Objects
After this step, MR.AreaOmni will NOT affect the illumination of the box anymore. MR.AreaOmni is used ONLY to create the caustic effects. In this way we can get control over caustic brightness, position, colour, etc... Disable shadows in the MR.AreaOmni.
Now, select MR.AreaOmni and all the other objects except the lights that you have created for illumination. Right click on all the selections and select Object Properties option in it.


Step 2 Object Properties
2.1 Edit Attributes of Caustics & Global Illumination (GI)
Go to the Mental Ray panel and check GENERATE CAUSTICS. This is necessary to have a caustic effect on the objects. Now go to INDIRECT ILLUMINATION panel and enable CAUSTICS. To improve the quality of the caustics go to LIGHT Properties and put a VERY high number in AVERAGE CAUSTIC PHOTONS PER LIGHT. I’ve put less than a million. This is enough for test renderings. The higher the number, the better will be the effect.
Of course it will take more time to render the entire scene. You can put high numbers in multiplier to create a very bright caustic effect. If you change the light colour of the MR.AreaOmni the colour of the caustics also change. To have a blue colour illumination under water, the water material should have a blue colour in diffuse and transparency.
I hope you find this blog is very helpful while working with 3Ds Max Mental Ray Caustics. Let me know in comment if you have any questions regarding 3Ds Max. I will reply you ASAP.
Got an Idea of Game Development? What are you still waiting for? Contact us now and see the Idea live soon. Our company has been named as one of the best Game Development Company in India.

I am Game designer. I am working on 3D game design. I love to share designing tips & tricks with you.
Drag and Drop List Item in List View
Enemy Follow Script (AI) in Unity