Be patient..... we are fetching your source code.
Objective
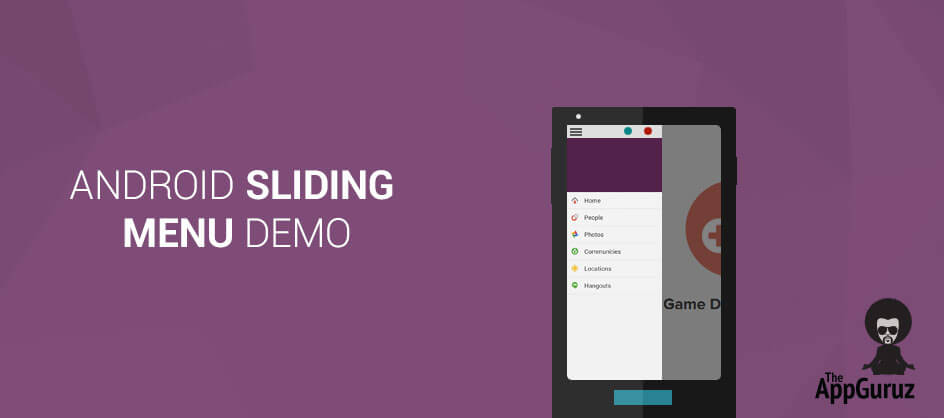
The main objective of this Android sliding menu example is to describe that how to use sliding menu in Android.
A Sliding Menu in Android is an Open Source Android library. Sliding Menu is used in lot of different types of Android application.
Following are the steps to create sliding menu in Android:
Step 1 Import needed Library
First you need following two library projects to create Sliding Menu:
Step 2 Create Project SlidingDemo for Android Sliding Menu
Now add ActionbarSherlock library project into SlidingMenuLib. And create new Android project named SlidingDemo and link SlidingMenuLib project with this project.
Step 3 Create Fragment For Sliding Menu
Now create SampleListFragment in SlidingDemo project which extends ListFragment. Add following into your class menus is for your menulist items.
public String[] menus = { "Fragment1", "Fragment2", "Fragment3",
"Fragment4" };
3.1 Create list.xml in layout folder
In onCreateView() Method set Layout, which contains ListView. Create list.xml in layout folder.
<?xml version="1.0" encoding="utf-8"?>
<ListView xmlns:android="http://schemas.android.com/apk/res/android"
android:id="@android:id/list"
android:layout_width="match_parent"
android:layout_height="match_parent" />
3.2 Make and Set List Adapter
In onActivityCreated() Method set List Adapter. And create SampleItem and SampleAdapter outside the onActivityCreated().
SampleAdapter adapter = new SampleAdapter(getActivity());
for (int i = 0; i < menus.length; i++) {
adapter.add(new SampleItem(menus[i], android.R.drawable.btn_star));
}
setListAdapter(adapter);
private class SampleItem {
public String tag;
public int iconRes;

public SampleItem(String tag, int iconRes) {
this.tag = tag;
this.iconRes = iconRes;
}
}

public class SampleAdapter extends ArrayAdapter<SampleItem> {

public SampleAdapter(Context context) {
super(context, 0);
}

public View getView(final int position, View view,
ViewGroup parent) {
if (view == null) {
view = LayoutInflater.from(getContext()).inflate(R.layout.row,null);
}
ImageView icon = (ImageView) view.findViewById(R.id.row_icon);
icon.setImageResource(getItem(position).iconRes);
final TextView title = (TextView) view.findViewById(R.id.row_title);
title.setText(getItem(position).tag);

return view;
}
}
3.3 Create row.xml file
Create menu row layout for SampleAdapter row.xml in layout folder.
<?xml version="1.0" encoding="utf-8"?>
<LinearLayout xmlns:android="http://schemas.android.com/apk/res/android"
android:layout_width="match_parent"
android:layout_height="50dp"
android:orientation="horizontal" >

<ImageView
android:id="@+id/row_icon"
android:layout_width="50dp"
android:layout_height="50dp"
android:padding="10dp"
android:src="@drawable/ic_launcher" />

<TextView
android:id="@+id/row_title"
android:layout_width="0dp"
android:layout_height="match_parent"
android:layout_weight="1"
android:gravity="center_vertical"
android:padding="10dp"
android:text="Medium Text"
android:textAppearance="@android:style/TextAppearance.Medium" />

</LinearLayout>
3.4 Create Fragments
Create some Fragments. Fragment1 extends Fragment.
private LinearLayout llMain;
private TextView tvFragmentName;

@Override
public View onCreateView(LayoutInflater inflater, ViewGroup container,
Bundle savedInstanceState) {
View view = inflater.inflate(R.layout.activity_main, null);

llMain = (LinearLayout) view.findViewById(R.id.llMain);

tvFragmentName = (TextView) view.findViewById(R.id.tvFragmentName);

llMain.setBackgroundColor(Color.GRAY);
tvFragmentName.setText("Fragment - 1");

return view;
}
Add Layout in layout folder activity_main.xml
<LinearLayout xmlns:android="http://schemas.android.com/apk/res/android"
xmlns:tools="http://schemas.android.com/tools"
android:id="@+id/llMain"
android:layout_width="match_parent"
android:layout_height="match_parent"
android:gravity="center"
android:orientation="vertical"
tools:context=".MainActivity" >

<TextView
android:id="@+id/tvFragmentName"
android:layout_width="wrap_content"
android:layout_height="wrap_content"
android:textAppearance="?android:attr/textAppearanceLarge"
android:textColor="@android:color/white" />

</LinearLayout>
Now override onListItemClick() and add following code.
Fragment newContent = null;

switch (position) {
case 0:
newContent = new Fragment1();
break;
case 1:
newContent = new Fragment2();
break;
case 2:
newContent = new Fragment3();
break;
case 3:
newContent = new Fragment4();
break;

}
if (newContent != null)
switchFragment(newContent);
Add following method into your class.

private void switchFragment(Fragment fragment) {
if (getActivity() == null)
return;

if (getActivity() instanceof MainActivity) {
MainActivity fca = (MainActivity) getActivity();
fca.switchContent(fragment);
}
}
Step 4 Create BaseActivity
Create BaseActivity in SlidingDemo project which extends SlidingFragmentActivity.
Add following into your class:
private int mTitleRes;
protected ListFragment mFrag;
Add following into onCreate() Method:
setTitle(mTitleRes);

// set the Behind View
setBehindContentView(R.layout.menu_frame);
if (savedInstanceState == null) {
FragmentTransaction t = this.getSupportFragmentManager()
.beginTransaction();
mFrag = new SampleListFragment();
t.replace(R.id.menu_frame, mFrag);
t.commit();
} else {
mFrag = (ListFragment) this.getSupportFragmentManager()
.findFragmentById(R.id.menu_frame);
}

// customize the SlidingMenu
SlidingMenu sm = getSlidingMenu();
sm.setShadowWidthRes(R.dimen.shadow_width);
sm.setShadowDrawable(R.drawable.shadow);
sm.setBehindOffsetRes(R.dimen.slidingmenu_offset);
sm.setFadeDegree(0.35f);
sm.setTouchModeAbove(SlidingMenu.TOUCHMODE_FULLSCREEN);

getSupportActionBar().setDisplayHomeAsUpEnabled(true);
New Fragments are set in setBehindContentView(). It’s a frame layout. Which stores our menu items. In customize the SlidingMenu tag, we set different property of SlidingMenu. Now add constructor for dynamically change the title of fragment.
public BaseActivity(int titleRes) {
mTitleRes = titleRes;
}
Step 5 Create MainActivity
Finally now Create MainActivty which extends BaseActivity. In onCreate() method add following code.
private Fragment mContent;

if (savedInstanceState != null)
mContent = getSupportFragmentManager().getFragment(
savedInstanceState, "mContent");

if (mContent == null)
mContent = new Fragment1();

// set the Above View
// used for new fragment load
setContentView(R.layout.content_frame);
getSupportFragmentManager().beginTransaction()
.replace(R.id.content_frame, mContent).commit();

// set the Behind View
setBehindContentView(R.layout.menu_frame);
getSupportFragmentManager().beginTransaction()
.replace(R.id.menu_frame, new SampleListFragment()).commit();

For replace fragment add following method

public void switchContent(Fragment fragment) {
mContent = fragment;
getSupportFragmentManager().beginTransaction()
.replace(R.id.content_frame, fragment).commit();
getSlidingMenu().showContent();
}
Step 6 Create Frame Layouts
Add following layouts into layout folder.
6.1 content_frame.xml Layout
<?xml version="1.0" encoding="utf-8"?>
<FrameLayout xmlns:android="http://schemas.android.com/apk/res/android"
android:id="@+id/content_frame"
android:layout_width="match_parent"
android:layout_height="match_parent" />
6.2 menu_frame.xml Layout
<?xml version="1.0" encoding="utf-8"?>
<FrameLayout xmlns:android="http://schemas.android.com/apk/res/android"
android:id="@+id/menu_frame"
android:layout_width="match_parent"
android:layout_height="match_parent" />
I hope you have learnt a lot from this sliding menu Android example. If you have got any query related to Sliding Menu in Android comment them below. We will try to solve them out.
Got an Idea of Android App Development? What are you still waiting for? Contact us now and see the Idea live soon. Our company has been named as one of the best Android App Development Company in India.

I am professional Android application developer with experience of one and half years in Android Application Development. Android has attracted me by its open source platform and the ability to deliver high performance mobile applications.
