Objective
Main objective of this blog post is to give you an idea about Lasso Tool in Photoshop.
Final Output

Step 1 Start Using Lasso Tool
Lasso Tool creates a custom, free-hand selection. Lasso Tool is used to copy something onto another picture. Lasso Tool is one of the most of useful tools when it comes to selecting a part of an image and will always be used even by the experts.
Photoshop actually gives three variations of Lasso to work with. The one we'll be looking at is Standard Lasso Tool.
Select Lasso Tool by clicking on the icon located on the Toolbar, or Press the Keyboard Shortcut (L).
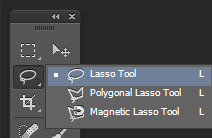
Each type of Lasso Tool gives us a different way to draw selection.
Drawing Free-hand Selections:-
Drawing a selection outline with a Lasso Tool is like drawing with a pen or pencil on the paper.
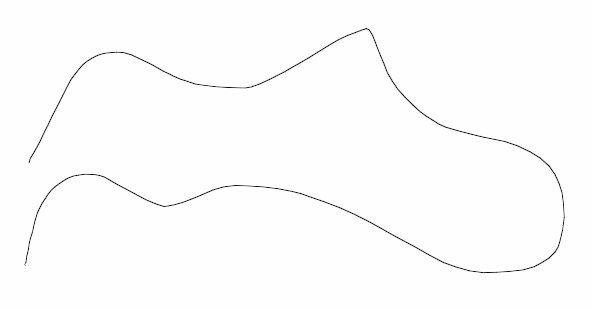
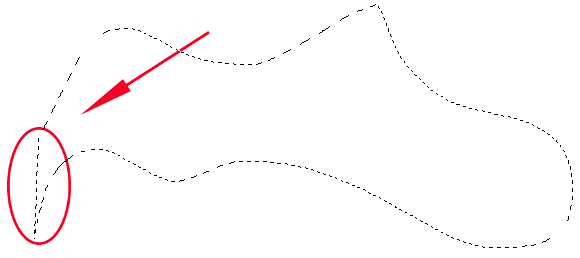
Photoshop closes the selection automatically with a straight line if you don’t drag it back to the beginning point.
Step 2 Add an image for editing
Open the image in Photoshop.

Step 3 Select Perticular Portion of the Image
Select the portions which you want to place in different image. Here, I want to place the balloon in another image.

Don't worry about any mistakes you’ve made in your initial selection. You can fix them later. Now, the initial selection is complete, but there are quite a few problem areas that need a fix.
Step 4 Modify The Selection
Select one of the selection options in the options bar.
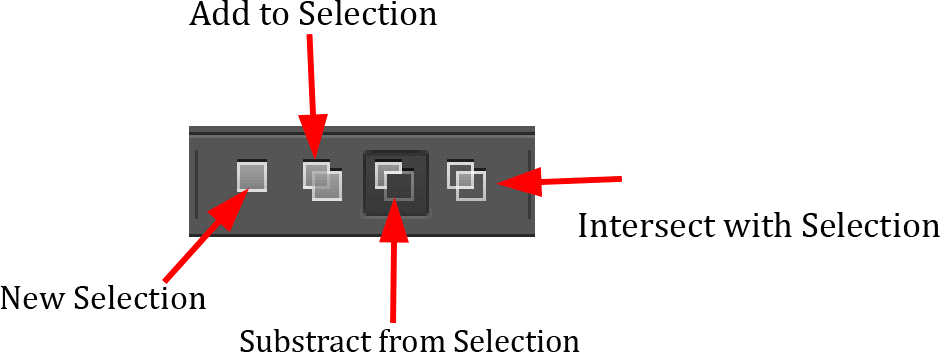
To modify the selection border, choose the Add new selection modes in the tool options bar.

Now, you need to work on the problem areas with the initial selection.
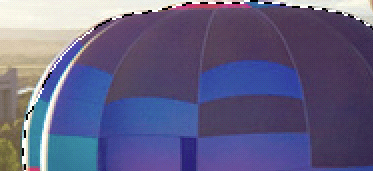
Hold down Shift key and drag around the area you want to add to the existing selection. As a result now more of the image has been added to the initial selection.
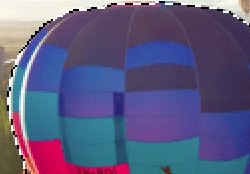
Choose subtract from selection modes in the tool options bar.

Continue scrolling along the selection outline to look for problems. This time more area is selected.
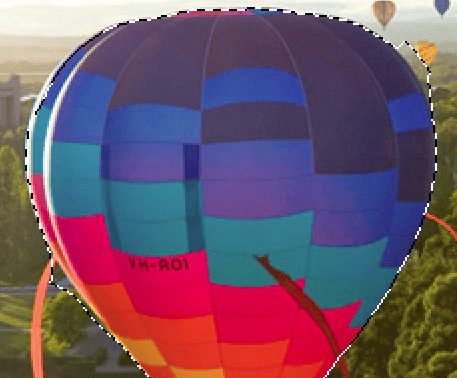
Remove that area by subtracting it from the selection.
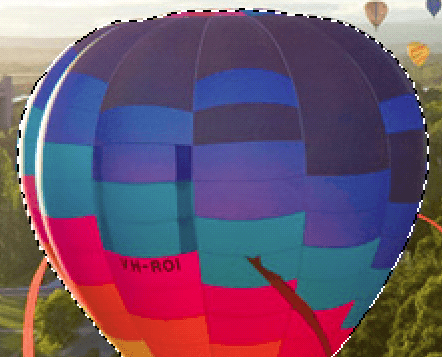
Step 5 Copy the Selection and place into new image
Look at the Final selection.

With the balloon now selected, press CTRL+C to quickly copy the selected area, then open up a second image in Photoshop and press CTRL+V to paste the balloon in that new image.
The balloon is placed successfully in the new image.
I hope you find this blog is very helpful while working Lasso Tool in Photoshop. Let me know in comment if you have any questions regarding Photoshop. I will reply you ASAP.
Got an Idea of Game Development? What are you still waiting for? Contact us now and see the Idea live soon. Our company has been named as one of the best Game Development Company in India.

I am game graphics designer at TheAppGuruz. I am designing graphics for Games. Here I am sharing information about 2d graphics designing tips and tricks.
Tableview Search in Swift
