Objective
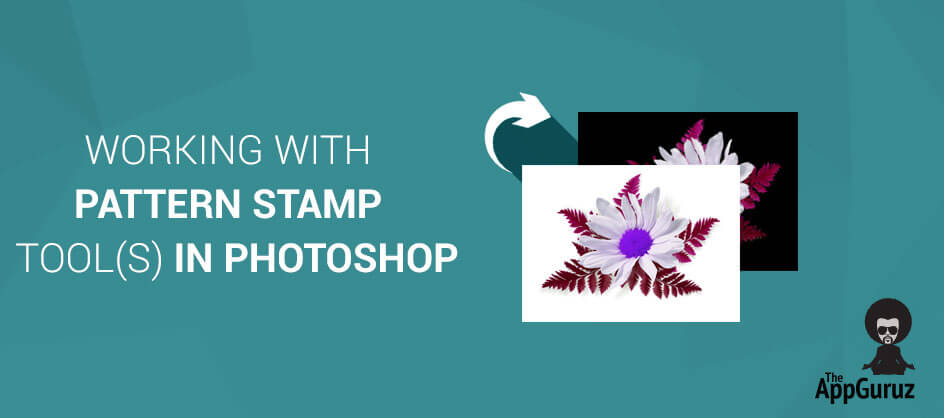
The main objective of this post is to show you how to work with Pattern Stamp Tool (S) in Photoshop CC.
Step 1 What is Pattern Stamp Tool ?
You will get Final Output:

What is Pattern Stamp Tool(S)?
Pattern Stamp Tool(S) is a very useful tool while making designs. You can use it to give interesting textures and backgrounds to your image. This tool allows you to create your own pattern stamps. You can fill pattern in your image using this tool.
How to work with this tool?
We are going to create a hand-made painting using Pattern Stamp Tool(S).
Photoshop filter gallery provides many different tools to paint but if you really want to turn your image into a hand-made piece of art; look no further then this Pattern Stamp Tool.
Step 2 Add An Image
Add an image which you want to turn into a hand-made painting.

Go to Edit >Define Pattern and set the pattern name as 'FLOWER'.
The pattern created will be of the same size as the document. This is very important thing to note when you start working with this tool.
Step 3 Define Custom Pattern


Now, select Pattern Stamp Tool(S) from the tools panel and set the values in it according to your requirement. Here, I have set the following values in the option bar: 21 pixel soft edged brush, visible Aligned and Impressionist.

Step 4 Add Semi Transperent Layers For Pattern Stamp
Now, after the pattern is set, we need to get the layers ready to draw on. Add a new layer by clicking on new layer icon from the layers palette. Fill the layer with black colour and set the name of the layer as "BLACK" and opacity to 80%.


Add a new layer on top of the BLACK layer, and name this layer "PAINT". Keep the opacity of this layer to 100%.

Step 5 Apply Pattern Stamp Tool
Now, we are ready to paint. Paint on the layer named FLOWER with the Pattern Stamp Tool, use long strokes to do the outline of the flower and shorter strokes to fill in the flower. We can easily erase any mistake by using Eraser Tool.

Now, resize your brush to 9 pixel and fill the area of the FlOWER.
![]()
Now, finish the painting and reset the opacity of BLACK layer to 100%.
I hope you find this blog is very helpful while Working with Pattern Stamp Tool in Photoshop . Let me know in comment if you have any questions regarding Photoshop. I will reply you ASAP.
Got an Idea of Game Development? What are you still waiting for? Contact us now and see the Idea live soon. Our company has been named as one of the best Game Development Company in India.

Hi, I am 2D game graphics designer at TheAppGuruz. I love to share 2d graphics tips and tricks for making graphics looks awesome. Here I am sharing some helpful tips with you.
Ads Implementation in Unity Using Leadbolt
Animating Unity UI 4.6 Elements