Objective
Main objective of this blog post is to give you basic idea about how to create Game Main Menu.
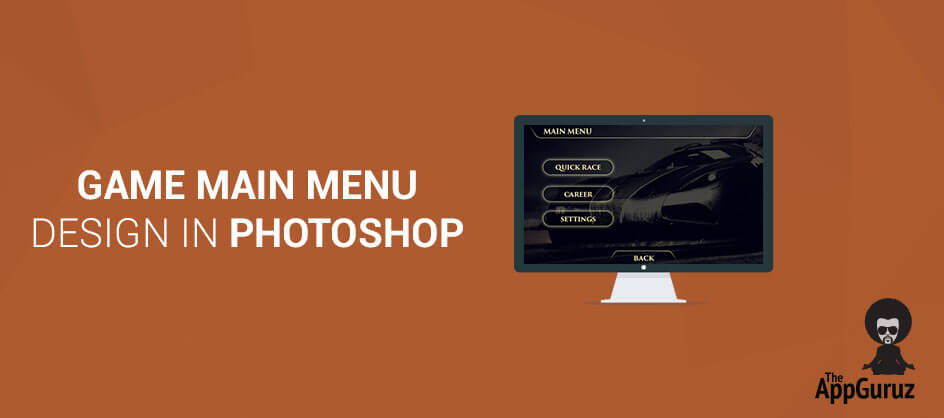
You will get final output:

I have created a menu design based on a car game.
However you can choose a theme of your choice.
Step 1 Creating a New Document
Open Photoshop. Create a new document from FILE -> NEW. Set Height and width in 2048×1536 pixel size. This is similar to the size of an Ipad retina. Always create your art in the highest resolution support by the intended platform so that you don’t have to redo the work for them.

First choose or create a background image for your main menu.

Step 2 Start Using Pen Tool

Draw the following shape using the pen tool.

Right click on the shape layer and choose Blending options.

Go to stroke -> color. Set color code to #e4dbac.

Set Fill value of shape layer to 0%. Fill value works only on the main content of the layer. It does not affect the transparency of blending or layer style effects.
Step 3 Rasterize Layer Style and Apply Layer Mask

You can see that only stroke is visible in your shape layer.
Right click on shape layer and select Rasterize layer style.

Step 4 Masking Using Gradient Tool
Click on Add Layer Mask icon.

It will add the layer mask. Now, Click on the layer mask.

Then Select gradient tool.

Set the following values.

Now we will apply masking on the shape. So press and hold shift key, left mouse button and drag the mouse from bottom to top on the shape. So it will add transparency on top of the shape.

Select the shape layer and press Ctrl + J for duplicating the layer.
Then drag it to the bottom side. Select the layer and press Ctrl + T to transform the layer.
Then right click on the shape and select Flip vertical.

We need to decrease the width of the shape. So First select the Rectangular Marquee Tool (M).

Select the part of the shape as shown in the image below.
Delete the selected part.

Then select that layer and press ctrl + J to duplicate the layer and flip it horizontally.
Now, arrange these two layers as shown below.
Now select type tool (T) and write ‘Main Menu’.
Here, I have set font Trajan Pro 3 and size 58.36pt.
Right click on the Main menu text layer. Choose Blending options. Select Color Overlay. Set color code to #dbd1a0.
Then set this text on the top part of the screen as shown in the image below.

Now let’s create the Back button. Select Type Tool. Write down ‘Back’. Set color code to #dbd1a0.

Finally, you will get the image as shown below.

Step 5 Create Shapes For Buttons
Now, we will create buttons like Quick Race, Career and Settings. So, first select Rounded rectangle tool (U).

Set radius to 100px.

And draw the shape as shown below.

Set Stroke and outer glow as given below. Stroke Values Size – 2px Position – Outside Color code – #e4dbac

Outer Glow Values Opacity – 83% Color code – #ffffbe Technique –Softer Size – 35 px


Create two buttons ‘Career’ and ‘Settings’ similar to Quick race button. At last you will have the image as shown below.

Congratulations, you’re done…!!! This is the result that you should get with this tutorial.
I hope you enjoyed and learned something new about Indirect Lights in Computer Graphics. If you have any question or query regarding this blog post you can post your questions in comment.
Got an Idea of Game Development? What are you still waiting for? Contact us now and see the Idea live soon. Our company has been named as one of the best Game Development Company in India.
Hi, I am 2D game graphics designer at TheAppGuruz. I love to share 2d graphics tips and tricks for making graphics looks awesome. Here I am sharing some helpful tips with you.