Objective
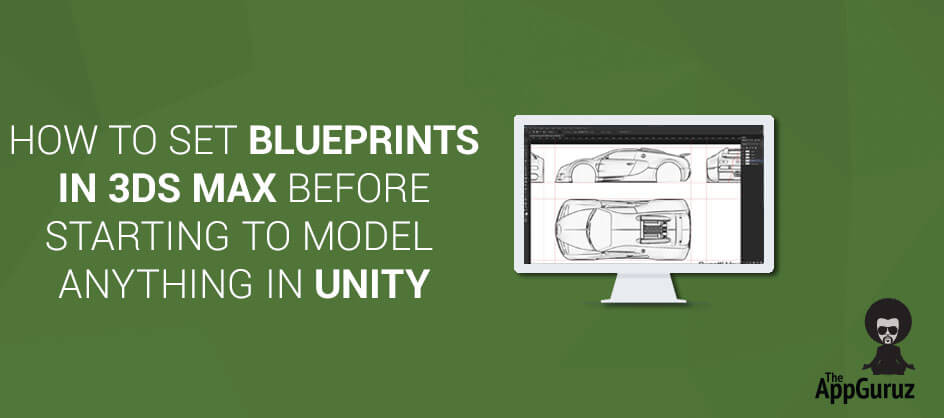
Main objective of this post is to give you an idea about How to Set Blueprints in 3Ds MAX Before Starting to Model Anything
Step 1 Quick Reviews About Blueprints
First of all we need to understand what a blueprint (particular for 3d modelling) is and why it's an important thing. Blueprint is an image which contains front, side, top and sometimes back view of an object that you want to model. Here I have taken a blueprint of the Bugatti Veyron 16.4, take a look:

1.1 Use Photoshop
Now, cut all the views as shown above using Image Processing software like Photoshop.

As shown in the above figure, create guides on the border of each view and then turn on snapping (if it's disabled) and start selecting every segment of view and hit Ctrl + j to make a copy of the selected area. Repeat this until you get all the views separately from the main image.
1.1.1 Export Files Using a Script
Now, export these layers to files like PNG, JPEG etc... using a script.


To export layers to files just go to File / Scripts / Export Layers to Files and choose an image format. Some options to Trim layers and Transparency are also available. Just check or uncheck them as per your requirement. Afterwards, browse a location to save the exported files. Here I have exported layers on the desktop.
1.1.2 Set Accurate Dimensions
Then, open the exported files in Photoshop and apply accurate dimensions to all the views:


1.1.3 Safe Area
Raise canvas size to 100px in each file for safe areas. 100px overall increment of canvas size gives 50px raise on both the sides. So the safe area will now be 50px wider.

1.1.4 Save File With Safe Area
Save 100px raised files and you will have 4 blueprints for 4 different views. Thus, Image Processing ends here.

Step 2 Use 3Ds Max
Now, switch to 3ds max by creating a plane.

2.1 Import Image
Next, drag an image on the plane to apply it as a material. It's strongly recommended that you must stick to the aspect ratio. For example, if your image has 1024 x 768 dimension then the plane must be 102.4 x 76.8 in generic units.

2.1.1 Material Editor
Hit ‘M’ to open the material editor and pick the plane to setup within its material.

2.1.2 Set Gamma & Override Options
gamma at value 1.0.

Now click on the Bitmap slot and set the override

You also need to check 3ds max preferences to see system gamma settings like givingblow.

2.1.3 Realistic Material
Now, right click on the material slot and select ‘Show Realistic Material in Viewport’

2.2 Image Setup for Different Views
Single view of a blueprint is ready to be placed, but before we place this we need to set the other three views likewise. Just hold Shift and move plane to make copies and adjust size according to another view's aspect ratio.

2.2.1 Placing of Planes
After setting up materials and sizes for all the 4 planes, place them respectively. Here is the screenshot on how I’ve placed all the blueprints.

An important thing to be kept in mind is that Realistic Material never draws back faces, but it gives Native Image Clarity. So your texture will be one sided in Realistic Material mode.
2.2.2 Show Frozen in Gray
Select all four planes and convert them to editable poly and then group them. Select that group and freeze it, but don't forget to uncheck ‘Show Frozen in Gray’ option. That's it, now you are ready to model Bugatti Veyron 16.4

Step 3 Importance of Blueprint
Blueprint setting is very important because when you model anything, it is necessary that your model should be accurate in its proportion. In this session we learned the essential blueprint setup. "Essential" because blueprint has the native clarity and optimized Graphics Quality. Sometimes you have no scope to place all the views because source image can work only in two views like front and side, so under these circumstances your modelling Guts and Concentration will serve you as your buddies!!!
Got an Idea of Game Development? What are you still waiting for? Contact us now and see the Idea live soon. Our company has been named as one of the best Game Development Company in India.

I am 3D game graphics designer at TheAppGuruz, I designed graphics for many 3D games. Here I am writing blog about one of my favorite concept of 3D graphics; love to share this with you.
How To Animate Specific Body Parts Using Avatar Mask
Face Skin Texture in 3D Max