Objective
Main objective of this blog post is to give you an idea about how to Create Face Skin Texture in 3D Max.
Step 1 Use Photoshop
1.1 Ambient Occlusion (AO)
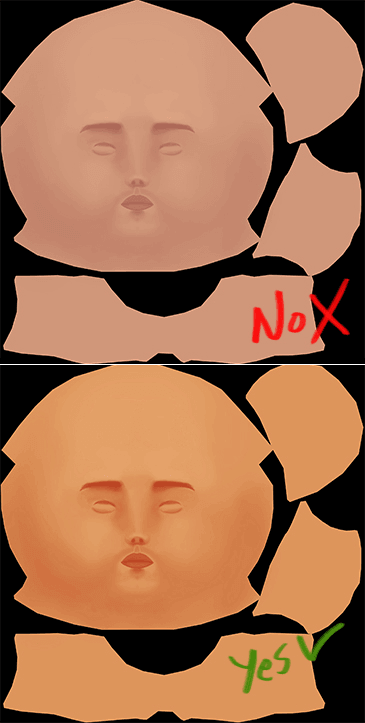
Firstly, take AO which is baked from high poly and give it a gradient map. Though it differs from mesh to mesh, I've used it for this particular one.

1.2 Use Filter, Color Modes and Opacity
Instead of multiplying AO over a color, use this as a base to paint on it as it looks far more lively. A black and white AO multiplied on a color looks muddy.
Now, make a new layer and add a color to it. Use noise filter and give it the ‘overlay’ layer style at 20%.
The color for the noise layer is usually close to the skin. Again the opacity, color and layer style varies from model to model, so go with what looks the best. Noise overlayed, it is meant to be very subtle.
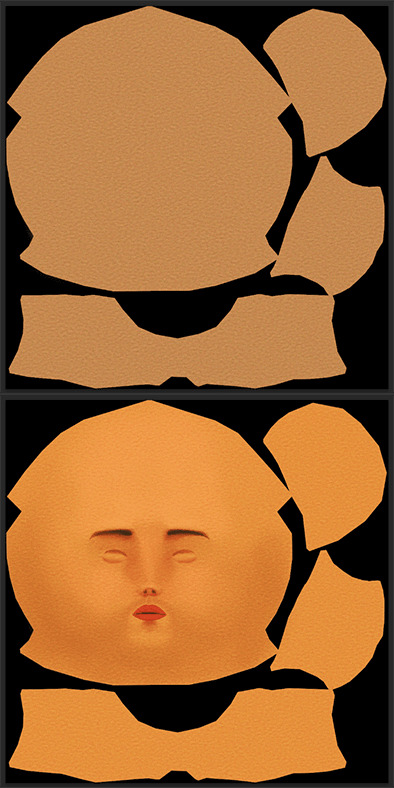
Color Zones on skin are very important to give it a real look and it requires you to gather some real world references. You can select from any color areas of the skin that have these hues.
Usually, I paint all of these colors on one layer and use 'overlay' or 'soft light' at about 10-20% opacity. This is the first time that I've put each color on its own layer and tweaked them individually.
1.3 Use Patterns
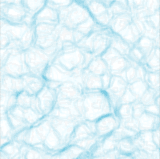
I have made a pattern which I used for veins under the skin. I've used a layer mask to adjust the opacity until I get the desired result. The veins layer is set on 'multiply' at 20% opacity for this model.
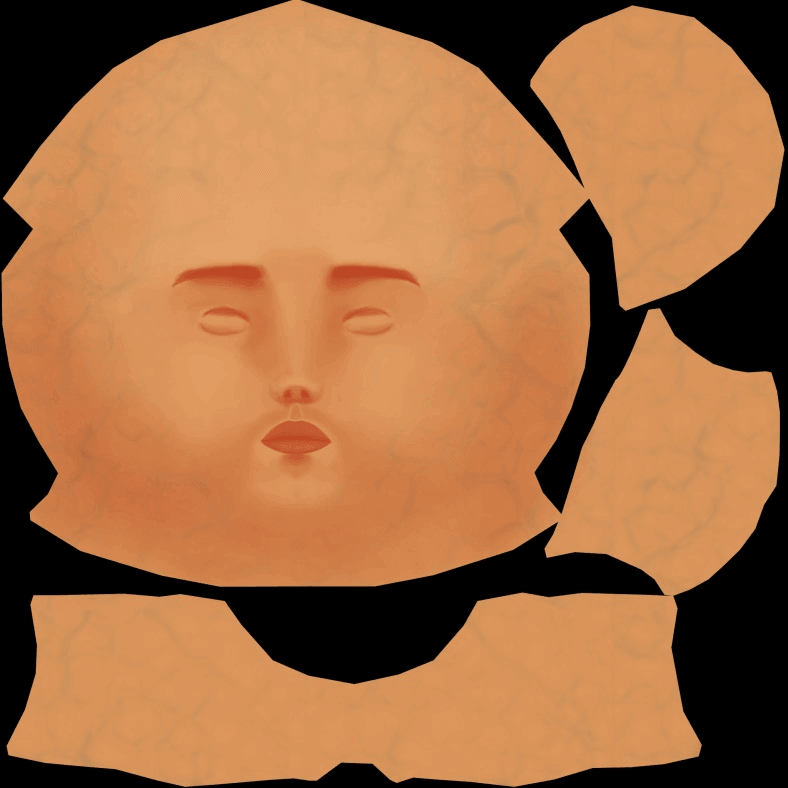
Step 2 Paint
2.1 Paint Shades
Paint some shading on the face to give it a realistic look that you wanted in the beginning.
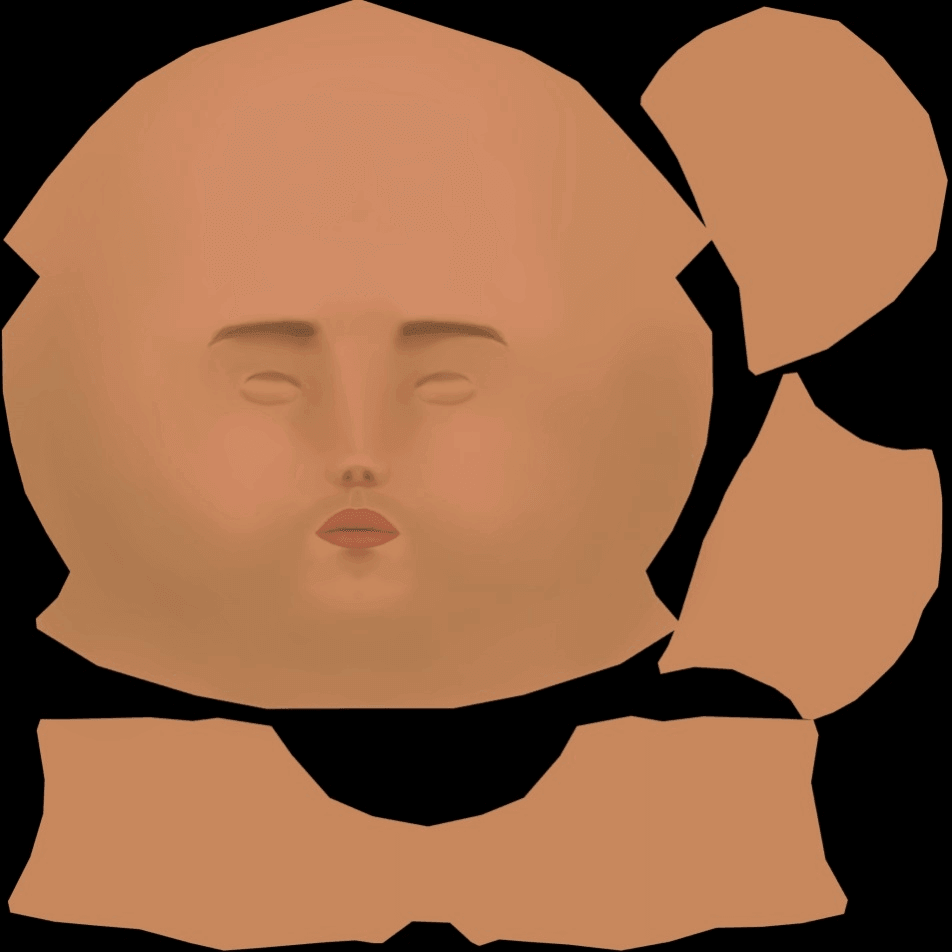
Paint some more areas to add details to it, especially around the eyes.
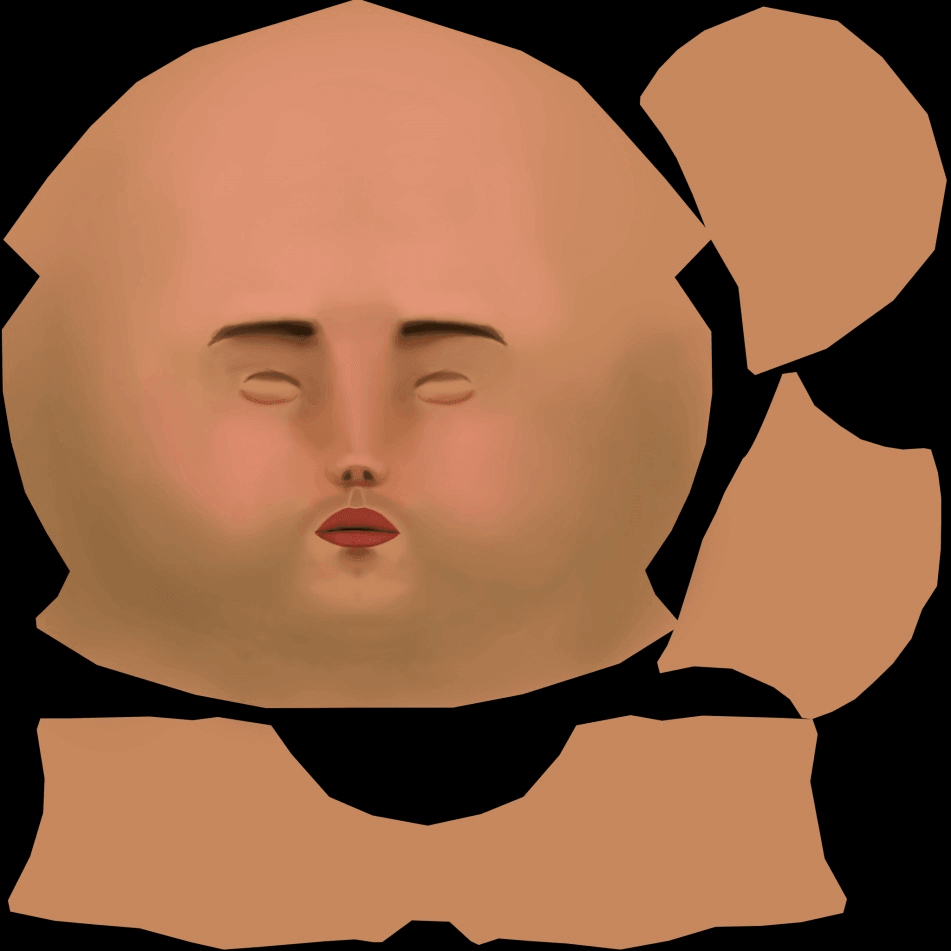
2.2 More layering and refining
I've used a speckled brush to paint around the cheeks and to blend the head with it. Even I've given it a bit of noise.
I've added a layer of dirt to the skin to give it a little bit more grit.
Now, I took A0 from the low poly model, added a gradient map that went from dark red to white overtop the A0 layer. Then, I merged A0 and gradient map, blurred it a bit using the Gaussian blur filter and set it to multiply and manually tweaked it with a mask.
Step 3 Use Brush
Next step was to enhance the stubble further with a simple trick.
I took a speckled brush, painted it with a purplish red and set it to multiply. Then I took that layer, duplicated it, put it on the screen and moved it 2 pixels up and to the right.
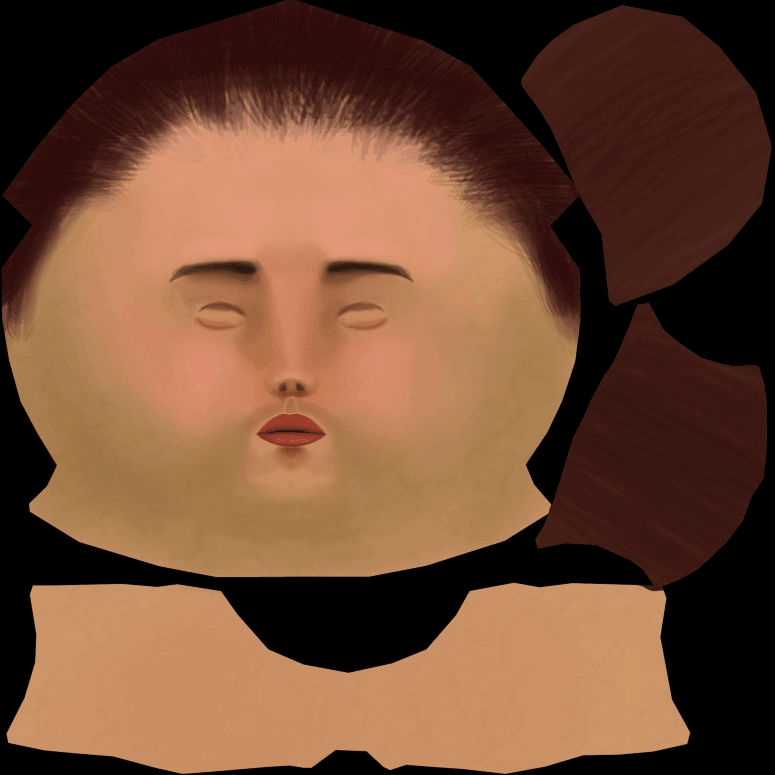
3.1 Add Details and Depth
This is a very simple way to add depth.
Work more on the pores over the cheeks, nose, forehead and ears, using the same technique as used with the stubble, just with a different color.
I’ve added some scars to the face.
3.2 Add filters and color modes
I felt that his lips were a little too light, so I darkened them a bit.
To give it that last punch of texture, I took the noise layer I used earlier, duplicated it, blurred it by a couple of pixels and overlayed it on top of the texture.
Finally with the hair layer visible on its own layer, I took a 1px brush and painted all of the little hair on the jaw, chin and neck.s
I hope this blog post will help you to Create Face Skin Texture in 3D Max. Let me know in comment if you have any questions regarding 3D Max. I will reply you ASAP.
Got an Idea of Game Development? What are you still waiting for? Contact us now and see the Idea live soon. Our company has been named as one of the best Game Development Company in India.
I am digital painter at TheAppGuruz. I worked for many concept art i am writing blog about one of my favorite topic of dp love to share this with you.
