To download the code, login with one of the following social providers.
Login
Be patient..... we are fetching your source code.
Objective
The main objective of this post is to describe that how Image Processing using GPUImage framework works in iOS.
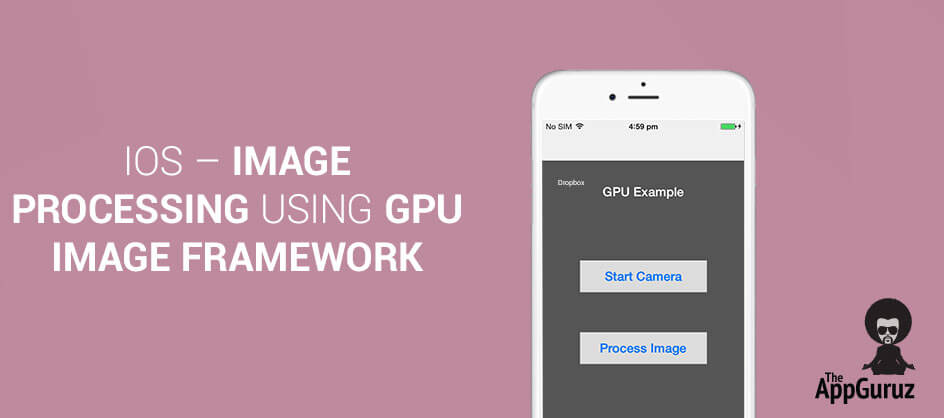
You will get Final Output:


Introduction:
The GPUImage framework is third party that is available for interactive processing with camera, videos, images, processing of images and videos.(for which the source code can be found on Github link is https://github.com/BradLarson/GPUImage) that allows you apply GPU-accelerated filters and another effects to images, live camera video, and movies.
GPUImage framework allows you to write your own custom filters, supports deployment to iOS 4.0, and has a slightly simpler interface. GPU framework basically used for image and video processing by applying different filters as all are available with GPU image and video classes.
Following are the steps that give you a brief introduction to use GPU framework for interactive application related to image, video and media.
Step 1 Download ThirdParty from GitHub
You can clone their repository on https://github.com/BradLarson/GPUImage. The first step is to download/ clone GPUImage from the url above. Once downloaded copy Source folder from downloaded folder and paste inside of the src folder into your project
Step 2 Import Frameworks
GPUImage framework also needs other frameworks to be linked to your application, so you have to add the following as linked binary with libraries in your application target:
- CoreMedia Framework
- CoreVideo Framework
- OpenGLES Framework
- AVFoundation Framework
- QuartzCore Framework
Step 3 Set Header Path
You will also need to find the framework headers. For that go to project's build settings set the Header Search Paths to the relative path from your application to the framework/ subdirectory within the GPUImage source directory. Now select the header path and make header search path as recursive.
Step 4 Import ThirdParty file
To use GPU Image Framework class in your application’s class file include the following core framework header:
#import GPUImage.h
Step 5 Initialized Camera with GPUImageGrayScaleFilter
Start camera with applied filter Following methods allows you to start camera of your device. Filter is applied to your camera named GPUImageGrayscaleFilter which allows you to capture image which is gray scaled.
-(void)initializeCamera
{
stillCamera=[[GPUImageStillCamera alloc]initWithSessionPreset:AVCaptureSessionPreset640x480 cameraPosition:AVCaptureDevicePositionBack];
stillCamera.outputImageOrientation=UIInterfaceOrientationPortrait;
image=[[GPUImageView alloc]initWithFrame:CGRectMake(0.0, 0.0, self.view.frame.size.width, self.view.frame.size.height)];
filter=[[GPUImageGrayscaleFilter alloc]init];

[self.view addSubview:image];
[self.view bringSubviewToFront:btnCapture];
[stillCamera addTarget:filter];
[filter addTarget:image];
[stillCamera startCameraCapture];
}
Capture Image:
Following method allows you to capture picture using camera then captured image will saved to photo gallery if error occurred while capturing image then appropriate error will thrown. Appropriate alert will be displayed as per the state of picture.
- (IBAction)btnCaptureClicked:(id)sender
{
[stillCamera capturePhotoAsImageProcessedUpToFilter:filter withCompletionHandler:^(UIImage *processedImage, NSError *error) {
UIImageWriteToSavedPhotosAlbum(processedImage, self, @selector(image:didFinishSavingWithError:contextInfo:), nil);
}];
}

- (void)image:(UIImage *)image didFinishSavingWithError:(NSError *)error contextInfo:(void *)contextInfo
{
UIAlertView *alert;
if (!error)
{
alert=[[UIAlertView alloc]initWithTitle:@"Success" message:@"Your image successfully saved to gallary." delegate:self cancelButtonTitle:nil otherButtonTitles:@"OK", nil];
}
else
{
alert=[[UIAlertView alloc]initWithTitle:@"Error" message:@"Your iamge has not been saved." delegate:self cancelButtonTitle:nil otherButtonTitles:@"OK", nil];
}
[alert show];
}
Process Image with Filter:
Following method will allows you to change image by applying appropriate filter. For that you have to pick an image from your picture gallery then apply appropriate filter to image and then process the image. So new image will be created with applied filter and save to camera roll. You can check it in your iPhone’s photo gallery.
[self dismissViewControllerAnimated:YES completion:nil];
UIImage *inputImage=[info objectForKey:UIImagePickerControllerOriginalImage];
image_p=[[GPUImagePicture alloc]initWithImage:inputImage];

GPUImageSketchFilter *filter1=[[GPUImageSketchFilter alloc]init];
[image_p addTarget:filter1];
[image_p processImage];

UIImageWriteToSavedPhotosAlbum([filter1 imageFromCurrentlyProcessedOutput], self, @selector(image:didFinishSavingWithError:contextInfo:), nil);
If you have got any query related to how Image Processing using GPUImage Framework in iOS works then comment them below we will try to solve them out.
Got an Idea of iPhone App Development? What are you still waiting for? Contact us now and see the Idea live soon. Our company has been named as one of the best iPhone App Development Company in India.

I am iOS developer, as a developer my basic goal is continue to learn and improve my development skills , to make application more user friendly.
iOS - Introduction to Gesture Recognizer in iOS