To download the code, login with one of the following social providers.
Login
Be patient..... we are fetching your source code.
Objective
The main objective of this blog post is to give you a basic idea on how to use Unity’s NavMesh system for implementing a simple navigation system for your game world.
Step 1 Introduction to Navmesh Navigation
Ever wondered how the enemies in a Prince of Persia game walks around various objects to reach our player?
Or how your favorite DOTA hero finds the route once you set target location?
If yes then, I’m here to satisfy your curiosity.
I’m sure you know that pathfinding is a process to find a shortest possible path or route between any two points or places.
A* & Dijkstra's algorithms are the famous ones for pathfinding. You can find some other algorithms as well. Or you can also make your custom algorithm (maybe with RayCasts & collision detection) for your game.
So, which algorithm should I prefer?
This question may pop up in your mind and you might select any of these algorithms.
But, you know the problem with algorithms, right?
Implementing these algorithms on your own for your needs is not just tricky and nerve-racking but a very long process too.
Even then, you might not get the behaviour as per your expectations. Don’t forget there’s also optimizations & some other things that you might need to take care of later.
I guess you got my point.
Things can get very complicated this way and you may end up wasting a lot of time in it.
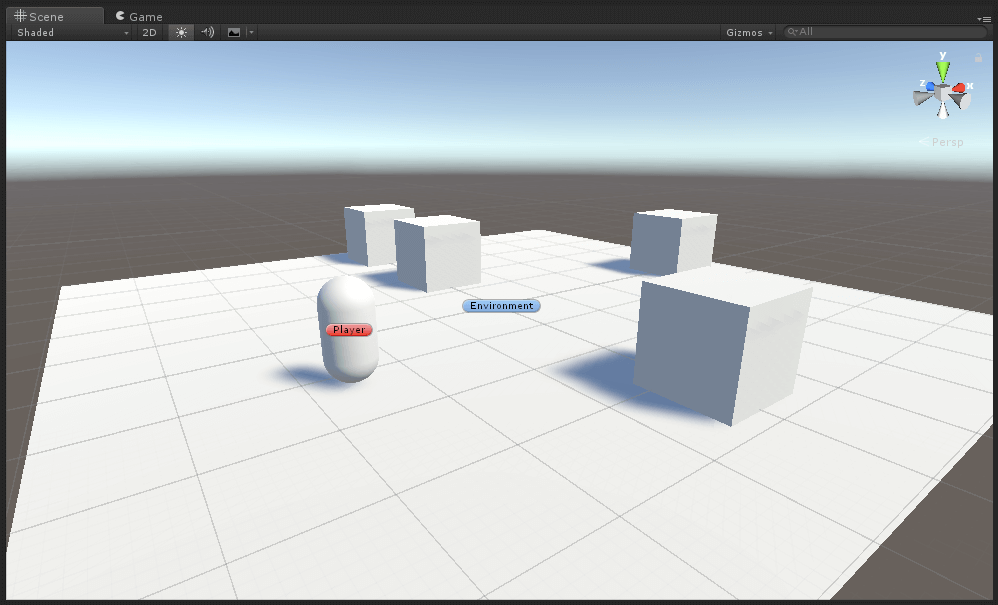
This is why Unity introduced its NavMesh (also known as Navigation Mesh) to avoid all the trouble i mentioned earlier. We will have something like this at the end of this tutorial.
See how 2 Zombie rabbits follow the player to eat his brain.
Note
The environment & character models I’ve used in this tutorial is from Survival Shooter Package from the asset store.
Step 2 So, what’s a NavMesh?
"By definition, NavMesh is a 3D mesh which is created according to the geometry of the scene. It eases the navigation and path finding operations."
"In simple words, NavMesh is a plane or surface on which our characters can walk/navigate through the game world."
Note
This only works for 3D environments.
The First obvious step is to set the environment. ;)
Mine looks like this:
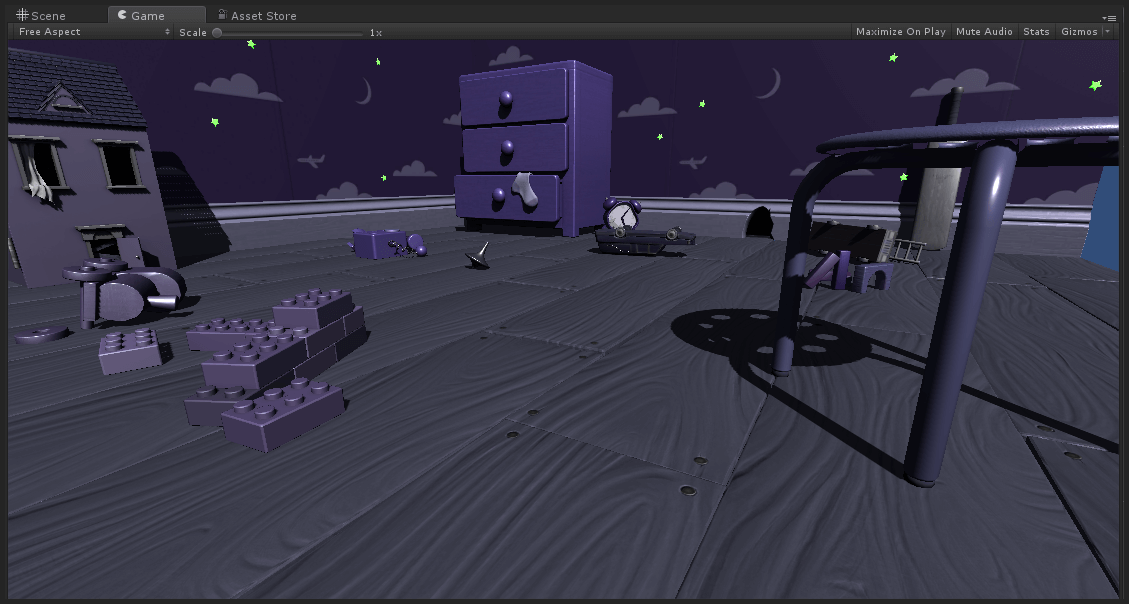
If you don’t have any environment of your own, download the package I’m using, or you can try a very Basic Environment like this.
Step 3 Let's see how to use NavMesh now
After you finished setting up the environment, open the Navigation window from Windows menu.
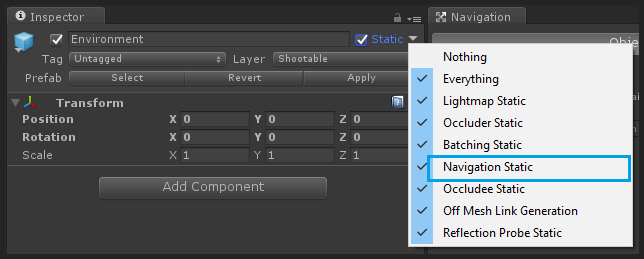
Now select all of your environment components & check the box Navigation Static in Navigation view.
Here, Navigation Static means the objects that remains at the same place during the gameplay. (Select only static objects for now, we’ll talk about moving obstacles in next blog).
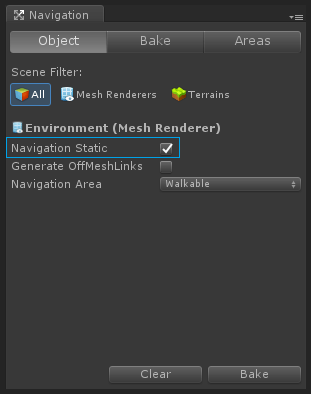
As an alternative You can also set Static Navigation from inspector.
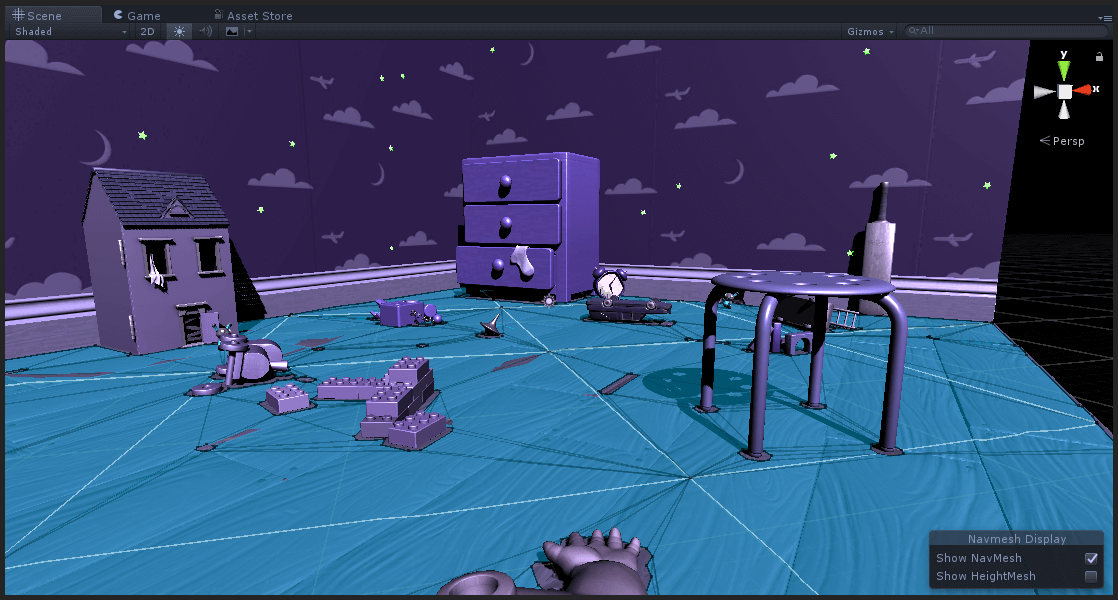
Let’s generate the NavMesh now (this process is often called Baking).
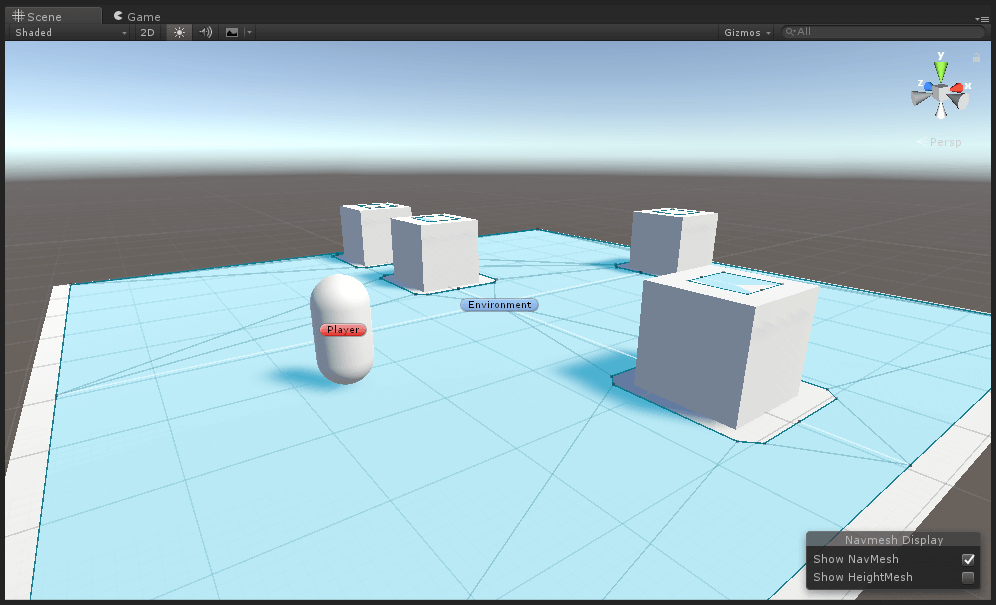
Alright, let’s click on the Bake and generate our NavMesh. You will see a blue layer covering the environment.
That blue layer is the Walkable area which lets our player or enemies move around.
Or this
You can change the Walkable Area by tweaking parameters in Bake tab of Navigation window.
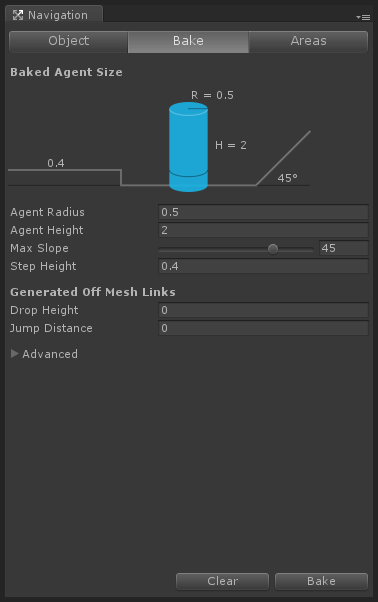
You can use this parameters to define step height, max slope value to traverse, jump distances, etc.
3.1 Navmesh Baking
Follow this link to know more about these tweaks:
At this point, we have a basic NavMesh in our game. Now let’s see how to move our characters in this NavMesh.
First, select characters from your hierarchy & add NavMesh Agent component to them from the inspector.
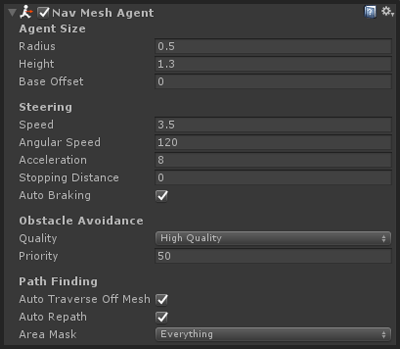
In my case, characters is a player and two enemies. By changing these values you can modify the behaviour of your character’s navigation.
3.1 Navmesh Agent
Right now let’s keep them as they are & move forward.
You can visit this link to get details about these parameters later:
To make the enemies follow my player, i’ve used a basic Movement script.
EnemyMovement.cs
using UnityEngine;
using System.Collections;
using UnityEngine.AI;

public class EnemyMovement : MonoBehaviour
{
    Transform player;
    // Reference to the player's position.

    NavMeshAgent nav;
    // Reference to the nav mesh agent.

    void Awake ()
    {
        // Set up the references.
        player = GameObject.FindGameObjectWithTag ("Player").transform;

        // Do not use FindGameObjectWithTag() method if the scene hierarchy is too big.
        // In such case, declare 'player' as a public variable & set reference from the inspector.

        nav = GetComponent <NavMeshAgent> ();
    }

    void Update ()
    {
        // Set the destination of the nav mesh agent to the player.
        nav.SetDestination (player.position);
    }
}
The part we need to focus in this script is the SetDestination() function of NavMeshAgent. You can see I’ve used this function in Update() method because our player is moving continuously.
If the target in your game is not changing its position you can use this function in Start() method or anywhere else in your code that suites your requirements.
And the NavMeshAgent component will do the rest!
Step 4 Conclusion: That’s it? Nothing more?
Yes, it is. Unity Navigation system strips down your time from 2 weeks of work to hardly 10 mins! That’s it!
I hope you got the basic idea of NavMesh with this blog that suffice the need of a basic navigation system. In the next one we’ll see an another example with off-mesh links, NavMesh Obstacles and some other stuff that we didn’t cover.
Note
There are other two scripts that I’ve used for player & camera’s movement, i’m not including them in the details since they have nothing to do with NavMesh in particular.
(Unity version 5.5.0f3)Try this in your game & if you find anything confusing about it, you can just drop a comment below.
Got an Idea of Game Development? What are you still waiting for? Contact us now and see the Idea live soon. Our company has been named as one of the best Unity 3D Game Development Company in India.

An Addictive Gamer turned into a Professional Game Developer. I work with Unity Engine. Part of TheAppGuruz Team. Ready to take on Challenging Games & increase my knowledge about Game Development.