Objective
Main objective of this blog post is to give you an idea about Dodge tool, Burn tool, Sponge Tool
Step 1 Start With Dodge Tool
![]()
1.1 Open Photoshop & Create New Document
First open “Photoshop” application. Create New Document From the Menubar by clicking File -> New
It will show you the new dialog box
1.2 Create New File of 1536 x 2048 Pixels

After setting the width 1536 pixels, height 2048 pixels and resolution 72 Pixels/Centimeter, press OK.
1.3 Select Dodge Tool
Now select the Dodge tool from the toolbar.

The Dodge tool optionbar will be displayed below the menubar as follows.

Then click on the brush type (down arrow) and select your brush type from the dialog box. Set the brush size and hardness.
The size affect the size of the brush. If you need more part to dodge then choose the large size.
The hardness will increase more if you are dodging more.

1.4 Setup Range
Range is the main part of the dodge tool. In Range, the Shadows option willl affect the darker part, the Midtones option willl affect the middle part and the Highlights option willl affect the lighter part of the image.
The Dodge tool lightens the image. It seems to be similar to levels and curves tools, but they have small difference. While using the dodge tool, the particular area where you hover the brush gets affected whereas in levels and curves toools, the whole image is affected.
1.5 Edit Photo Using Dodge Tool
First open an image wich you want to dodge. Then select blurred round brush from the top optionbar.
Select the “Highlight” option from the Range drop down. It will lighten your picture.
Then click and drag the brush on the image part which you want to enlighten.

Step 2 Start With Burn Tool
![]()
2.1 Select Burn Tool
First select the Burn tool from the toolbar.

The Burn tool optionbar will be displayed below the menubar as follows:

2.2 Setup Exposure and Range
Then click on the brush type down arrow and select your brush type from the dialog box. Set the brush size and hardness.
The size will affect the size of the brush. If you need larger part to Blur then choose the large size.
The hardness will increase more if need hard blurring effect.
The Burn Tool is used to darken the image part and to adjust the color of the image part like eyes, hairs etc.
The exposure will be affected on burning. As you increase the exposure the darkness will increase.
2.3 Edit Image Using Burn Tool
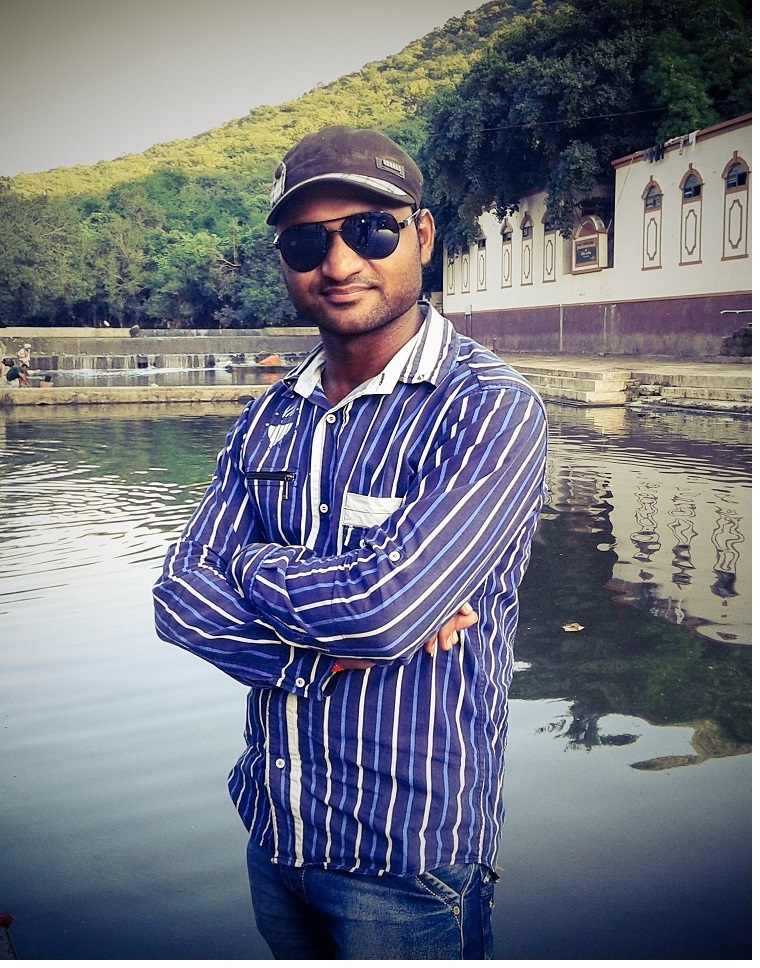
Select the burn tool from the toolbar and then select shadows from the range. Select exposure 30% and then hover the brush on the hair part. You will now see that the hair part has been darkened.
Now make brush size very small. Then hover on eye’s border and eyebrows. You will see the darkening effect.
Step 3 Start With Sponge Tool
![]()
3.1 Select Sponge Tool
First select the Sponge tool from the toolbar.

The Sponge tool optionbar will be displayed below the menubar as follows:

The sponge tool is used to saturate or desaturate (color to black and white) particular part. First select the bursh from the sponge tool and then select the mode. Two modes are available: Saturate and Desaturate. Desaturate will remove the color of the image converting it to black and white. Saturate will brighten the color.
In the above image the skin is desaturated and so it will appear black & white. While the other part is saturated making it bright.
Then go to toolbar and select the Pen Tool.
3.2 Select Pen Tool
First select the skin part using the pen tool. Then press ctrl+alt+Enter.

3.3 Copy Layer
Then press ctrl+J . It makes the duplicate copy of the skin part. After that select the sponge tool from toolbar. Select desaturate from the mode.
Then hover the brush on the selected area. It will remove the color from the image.
3.4 Highlight Hair and Cloths
Select the Image layer (not skin layer). Select saturate from the mode and then hover the brush on selected areas. You will now see the selected areas made bright.
I hope you find this blog is very helpful while working with Photoshop. Let me know in comment if you have question regarding Photoshop.
Got an Idea of Game Development? What are you still waiting for? Contact us now and see the Idea live soon. Our company has been named as one of the best Game Development Company in India.
Hi, I am 2D game graphics designer at TheAppGuruz. I love to share 2d graphics tips and tricks for making graphics looks awesome. Here I am sharing some helpful tips with you.
Volley - Easy, Fast Networking for Android
Make Responsive Design Quickly