Created By Milind Goratela | Last Updated on : 26 December 2016
Objective
Main objective of this blog post is to give you an idea to beginner in web design.
Step 1 Introduction
Before we start PSD to HTML we need to peek a little into Photoshop. So let’s take a look on Photoshop. You need basic knowledge about Photoshop like following features
Step 2 Layer structure
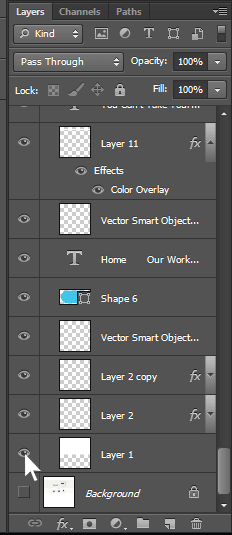
- This feature is very important because we can separate different parts as layers from an image. For example, if you need logo from a PSD file then you need to have good knowledge about layer structure.
- We can show/hide a layered image using layers as shown in the following image, so that we can get proper images from PSD file.
Step 3 Cut/Copy Images
- This is very also very useful feature. If we want any particular image then we need to cut and copy that image without any background or any other image.
- So, if you want only logo then you need to hide background and any other image present there and then hide that from layers section. We need to hide all the layers till we can see the transparent background of logo.
- Use following steps to Cut/Copy Image from Photoshop
3.1 Use following steps to Cut/Copy Image from Photoshop
- First hide all background layers of logo.
- To cut image, use “Marquee Tool”.
- Select “Marquee Tool”.

- Select Logo using Marquee Tool as shown in following image.

- Now press “Ctrl+Shift+c” (this is for copy command) and then press “Ctrl+n” (to open new page) then you would see following screen. Now press “OK”.

- Then you can see screen like following image.
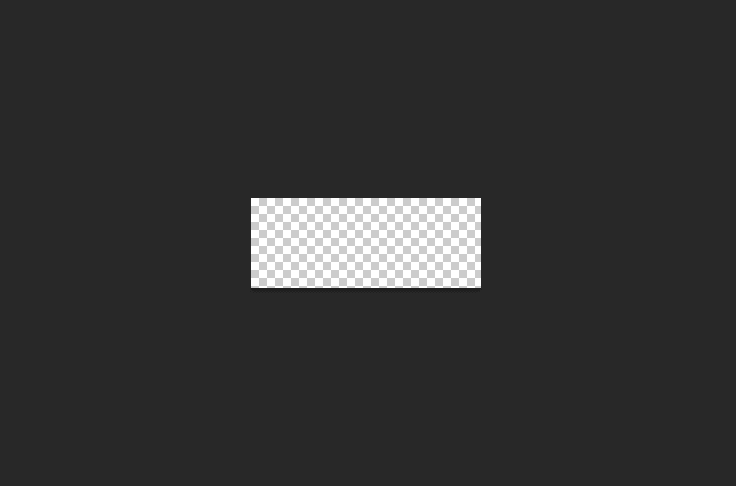
- Press “Ctrl+v” (for paste command) and then hide background layer.

- Now, press “Ctrl+Alt+Shift+s” (Save as web Command). Then you would see following window.
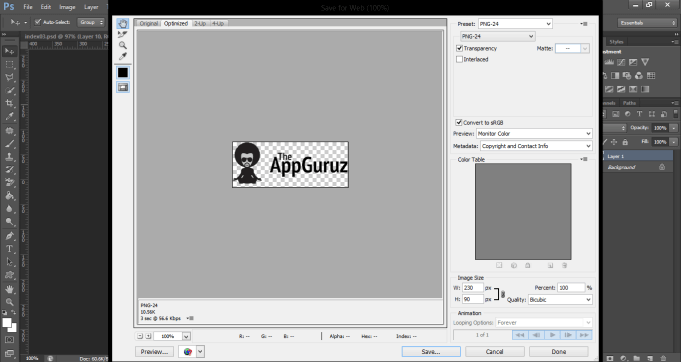
- Now select PNG format from dropdown menu at Right-Top corner. And then press "SAVE".
- That’s it. You can save all other images with the same process.
We now know how to cut images from Photoshop. So, 25% of our work is now completed. Now let’s understand how to implement it into HTML.
Step 4 Now let’s understand how to implement it into HTML
- Cut/Copy all images from PSD file as shown above steps which you think that’s needed into the HTML.
- You need to follow following structure to make proper HTML code.
<!DOCTYPE html PUBLIC "-//W3C//DTD XHTML 1.0 Strict//EN" "http://www.w3.org/TR/xhtml1/DTD/xhtml1-strict.dtd"> <html xmlns="http://www.w3.org/1999/xhtml"> <head> <meta http-equiv="Content-Type" content="text/html; charset=UTF-8" /> <title>Creatif</title> <link href="style.css" rel="stylesheet" type="text/css" /> </head> <body> <div id="main"> <div class="container"> <div id="header"> Logo / Menu </div> <div id="fratured_content"> Featured Content </div> <div id="block_content"> Content </div> </div> </div> <div id="footer"> <div class="container"> Footer Stuff Goes in Here </div> </div> </body> </html> - Now as per structure, put background image or Color into HTML using CSS as per PSD requirements.
- As you can see in above structure, I have divided it into different blocks so I can divide the PSD as per those blocks. Now, you can easily understand that you first need to make “header” block .And generally header block includes Navigation links and Logos, Contact number etc.
- Then at the end of the structure you can see “Footer” block. That also includes links of navigations, logos, contact info etc.
- Now, Between Header and Footer all other remaining content is included that we need to divide as per block structure. In this main content block, we would divide different blocks as per contents. That depends on how you want to arrange those contents (by following PSD structure).
- Now, you need to create “style.css” file which is used to put all CSS (Cascading Style Sheets) which we need to attach with HTML. Because HTML is nothing without CSS.
- Now, Observe PSD properly and divide it into different blocks and put all contents or images as per divided block while following the structure. It will make better conversion from PSD to HTML
- Suppose I have following PSD. Now I would be converting it to HTML.
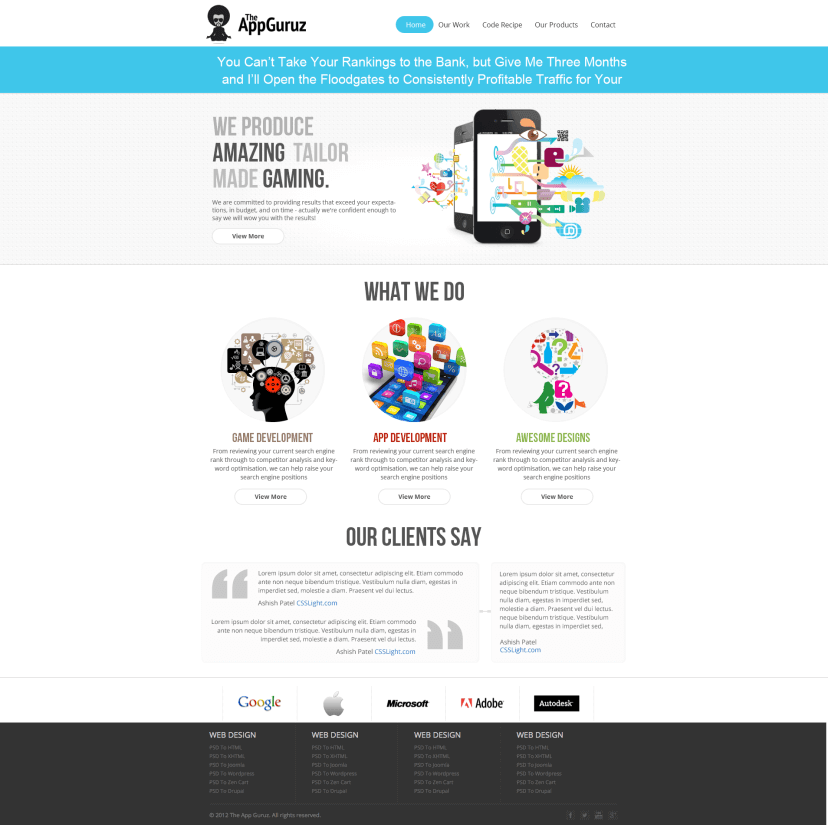
So I will divide this PSD into different blocks as shown in following images.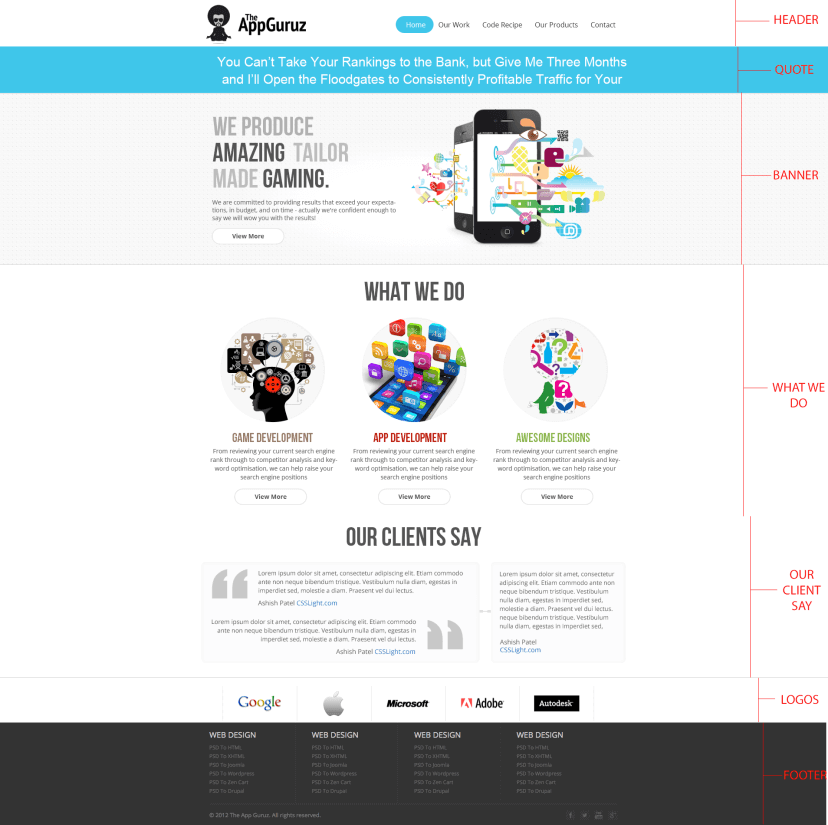
I hope you find this blog very helpful while converting your PSD to HTML. Let me know in comment if you have any questions regarding PSD to HTML. I will reply you ASAP.
Got an Idea of Web Development? What are you still waiting for? Contact us now and see the Idea live soon. Our company has been named as one of the best Web Development Company in India.
Created on : 06 February 2015

PREVIOUS POST
Normal Mapping In 3D Game
Normal Mapping In 3D Game
