Objective
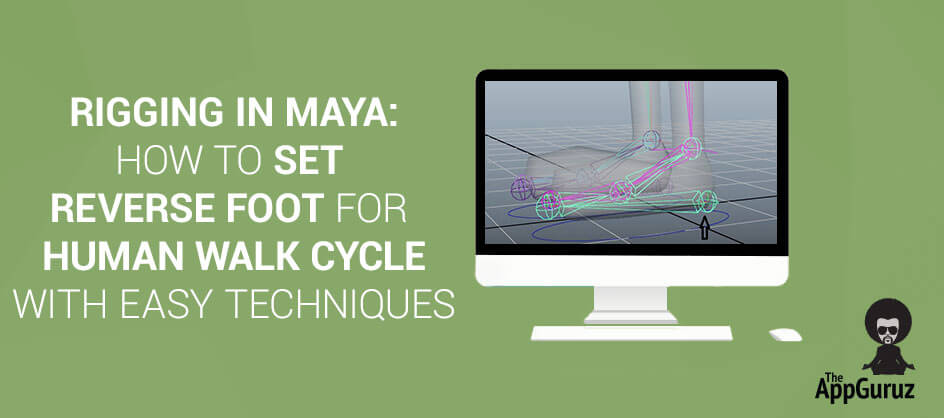
Main objective of this post is to give you an idea about How To Set Reverse Foot For Human Walk Cycle With Easy Techniques
Step 1 Quick Review
Basic Skeleton setup
Foot Control Setup and Reverse Foot Joint Setup
Foot Control Attribute Setup and How to Apply Key
Through this blog you will learn to set reverse foot [reverse kinematics] for Human walk cycle with easy techniques.
Let us start with the basic skeleton setup and then move towards Foot Control setup and Reverse foot setup with its appropriate constraints in human character.
1.1 Basic Skeleton setup
1.1.1 Front view and Side View


1.2 Foot Control Setup and Reverse Foot Joint Setup
1.2.1 Bones for reserve foot
After setting the skeleton setup in human character give proper naming convention and apply IK Handles to Legs and Hands. Make sure that while setting IK Handle options, current solver must be set to RP Solver. If not then correct it and apply.
Now, focus on the topic reverse foot, start from the left side again and setup the bones for reverse foot starting from Heel-toe-ball-ankle respectively.
1.2.2 Adding Foot Controls (Constraints)


[After setting reverse foot joint, follow the steps given below for techniques to give constraints]
- Select reverse Toe and main Ball [1st Image indicate Basic and 2nd indicate reverse foot] and give them orient constraint from constraint menu. Make sure that in options box, offset is set to ON.
- Select Reverse Ball and Main Ankle; give them orient constraint and maintain offset to ON.
- Now, select reverse Ankle and IK handle and give them point constraints.
- For Pole Vector, select curve in front of knee. Select IK handle and then give them Pole Vector constraint. Even select reverse foot and foot curve and make it parent.
1.3 Foot Control Attribute Setup
Foot Control Attribute Setup and How to Apply Key
[Set up the Left Foot control attribute] Oval shape curve [Left Foot]:
- Draw foot control [Above Screenshot]
- Select foot control
- Go to channel box / layer editor
- Go to edit menu and select ADD ATTRIBUTE option

In add attribute option:
Give long name for e.g. Foot Ctrl Left
| set minimum value | -1 |
| set maximum value | 1 |
| set default value | 0 |
| Data Type | float |

Now Select L_Foot_ctrl from View Port and then Select Attribute Foot Ctrl Left from channel box / layer editor.
1.3.1 Set Driver Key
- Then go to edit menu and select SET DRIVEN KEY [Note: Don’t close this menu after opening it]
- After opening Set Driven Key menu, directly hit the load driver button.
- In Set Driven Key menu, driver indicates foot controls whereas driven indicates the bone structure.
- Now select foot control Left from driver attribute as shown in the screenshot

1.3.2 Attributes Value for Controlling Foot
- After following the above steps go to viewport; Select heel bone and select it as hierarchy as shown below. Go to set driven key menu and directly hit the Load Driven button after which we will be able to see the hierarchy of reverse joint heel-toe-ball-ankle on left side of the Driven Menu and its attribute on the right side i.e. translate, rotate, scale etc.
- Select all bones from driven as shown in the screenshot below and select its appropriate attributes; translate xyz and rotate xyz, then select left foot curve from viewport and check that the attribute of that curve Foot Ctrl Left is 0 .

Step 2 Applying Key in Attributes Editor
- Go to Set Driven Key menu which is already open and directly hit the Key button which is now enabled.
- Select Left foot curve from the viewport and set it to 1 which we had set to 0 in the previous step.
- For Moving forward we use the positive value that is 1 and for moving backward we use the negative value that is -1.
- Next, go to viewport and select reverse TOE. Right click on it and select it as hierarchy. Follow the screenshot given below.

Check that Foot Ctrl Left attribute’s value is set to 1 and move it forward as shown in the screenshot given below.
2.1 Hierarchy of Reserve Joint

- After Following go to Set Driven Key menu and directly hit the Key button. These steps are for the forward move process. Now select L_Foot_Ctrl from viewport and edit its attribute Foot Ctrl Left to 0 for default position.
- Now again select L_Foot_Ctrl from viewport and edit its attribute to -1 for backward move process. After giving the value -1, select heel bone and rotate it backward as shown below.

- After following step: 18 go to Set Driven Key and Hit Key button. Check the forward and backward movement of reverse foot by its attribute Foot Ctrl Left.
- Now, close Set Driven Key Menu and Follow the above steps to check whether it is proper or not.
I hope you find this blog very helpful while working with Reverse Foot Joint Setup or Rigging in Maya. Let me know in comments if you have any question regarding Rigging in Maya.
Got an Idea of Game Development? What are you still waiting for? Contact us now and see the Idea live soon. Our company has been named as one of the best Game Development Company in India.

I am 3d game designer at TheAppGuruz. since then, i have created clean and creative design for many games.