Objective
This blog post will help you to create pixel art tiles objects.
Sometimes, we have to create full background of pixels which is a huge task and even consumes a lot of time. So, at that time it is preferable to create a seamless tile set.
Step 1 How To Create Stone Tile Set ?
How to create a stone tile set?
Stone tile set can be used to create any stone shaped background.
Step 2 Create A New Document of 30 x 30
1. To create a tile set, first you need to define the size of individual tiles.
- Here I have taken a tile of size 30 x 30. It’s good to keep document size as small as possible in pixel art so that pixels can be seen clearly.
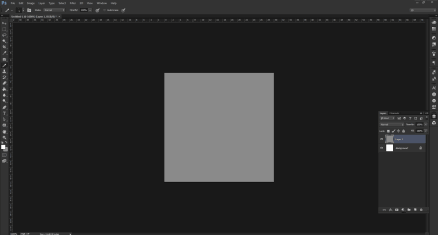
- Take a new Photoshop document of size 30 x 30 and fill it with solid color of stone.
- When working with pixel art it is essential to work in full zoom. So zoom in your doc as much as it fills your display.
Step 3 Select Pencil And Draw Stone Pattern On New Layer
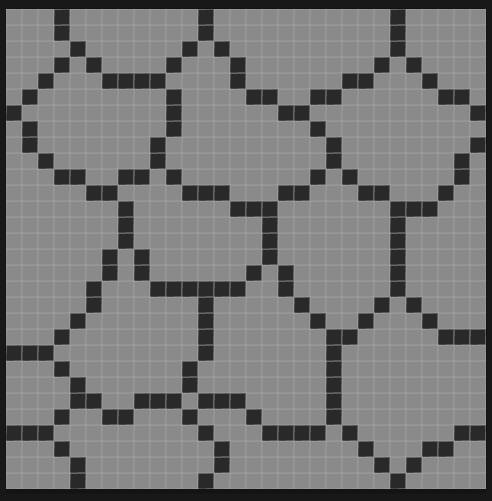
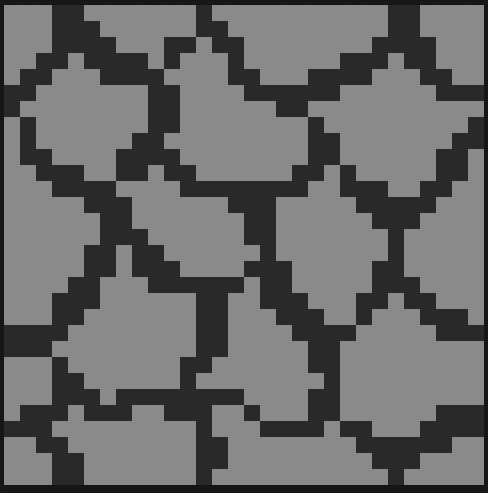
Select pencil tool from brush tool options, and start drawing stone pattern in the new layer.
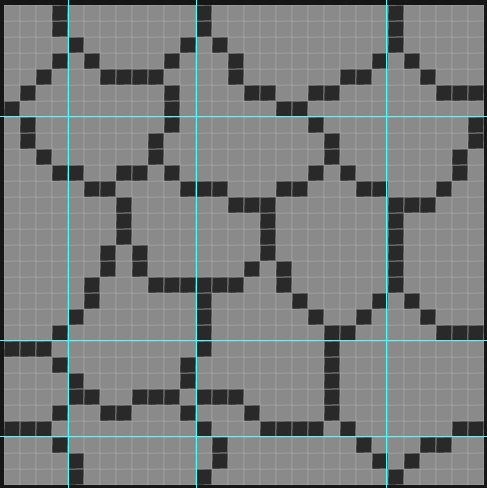
- To create seamless tile set it’s necessary to draw tile end so that it can be joined to the other end.
- Use Rulers wherever needed, it will help you to make similar tile ends.
- Now there is a seamless tile set which needs to be filled with little details.
Step 4 Add Some More Depth, Lighting and Shadow
For detailing purpose, you can add little more depth to every stone edge by making it bolder.
- Create a new layer for extra depth and fill it with relative color.
- Remember to see your pixel art in 100% zoom when you do any changes because sometimes what you make in pixel art is not what you are looking for.
4. Now, to give a 3D view to your stones, put a lighting layer and give lighting to all the stones with relatively bright colors.
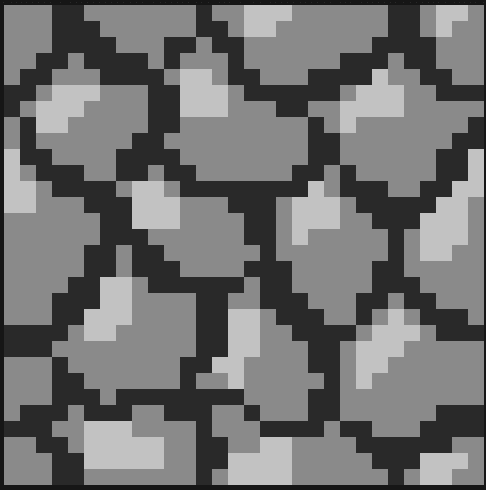
- Light always brings a shadow along.
- Now, you need to put the shadow on another side of the stone. Pick a dark color of stone color and give shadow in the new layer.
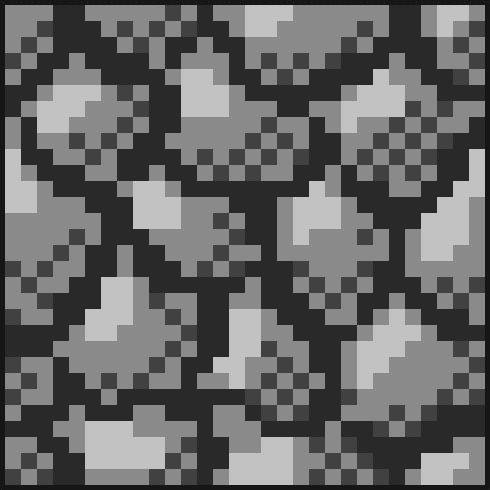
Step 5 Tile Looks at 100% Zoom
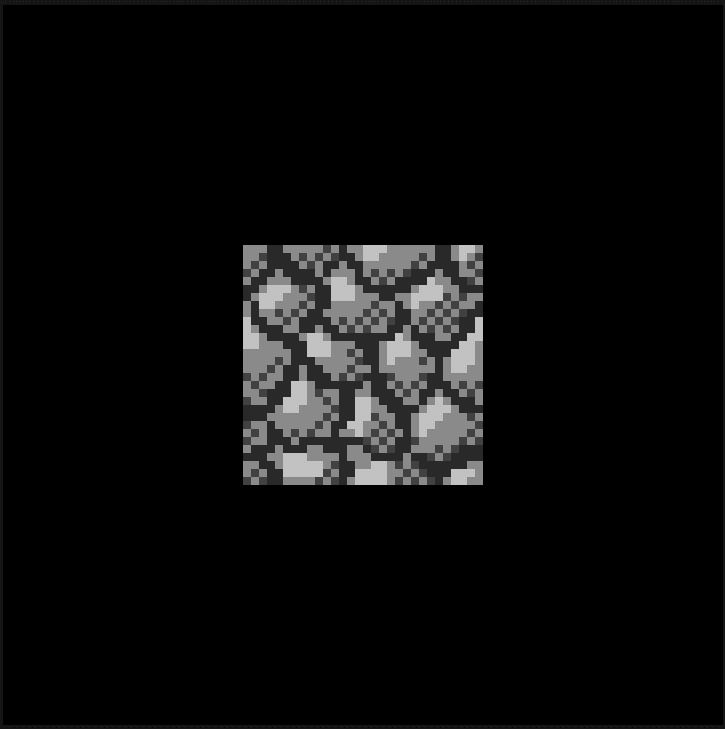
- Let’s check how our tile looks when 100% zoomed.

Step 6 Resize The Document For Bigger Stone Tiles
- We have created a tile which is seamless. Let’s have a check by resizing doc size to 3 times more and by arranging the tiles near to each other.
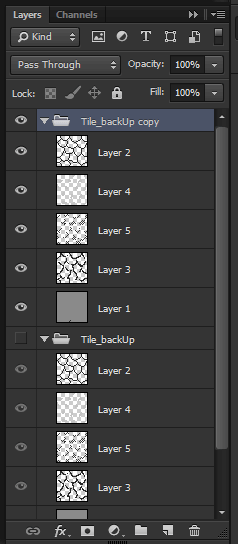
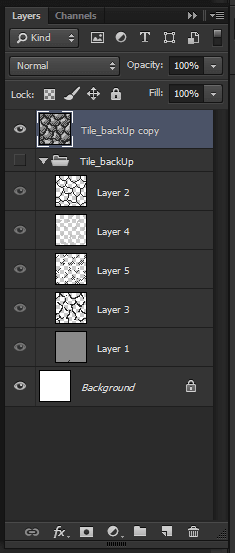
- For that I suggest you to first ‘group’ all the layers of tiles and save it as a backup. Take a copy of that group to work on further.
- Hide original group and merge the copied one in a single layer.
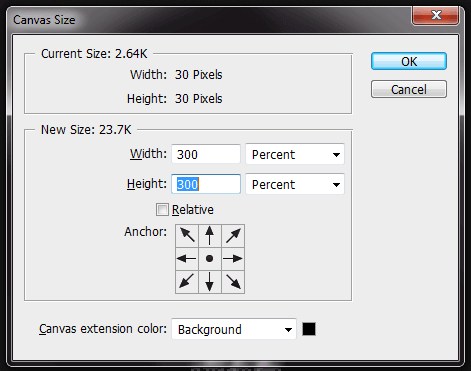
- Resize document by 3 times.
- Arrange the tile on document and zoom out 100% to see the result.
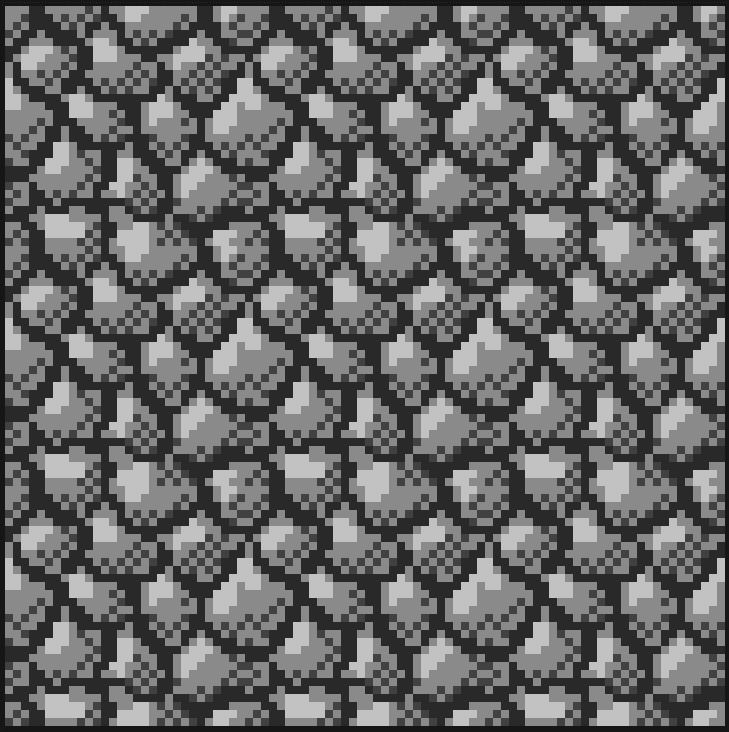
To create a tile set, you may crop the original tile in some random shape such that it’s one or two ends may join to the original tile end.
- Create tile set variations by making different shapes.
- Our main tile has a Zero end, it means that it can be joined to other tiles from all the sides.
- Think about other combinations like one end, two end, three end or four end.
- For that use original tile and crop the required side of the tile.
- For example, see one end tile given below:
Step 7 Tile Set Variations
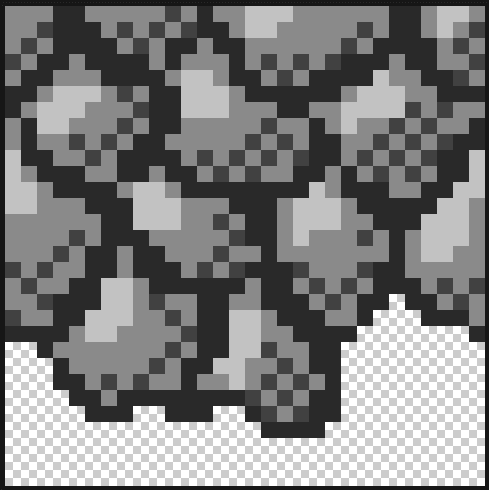
- I just erased some of its parts in such a way that it can be joined to other tiles from all three sides.
- Note that sometimes you will have to create an extra adjustment tile for joining 1 end, 2 end or 3 end tile to your tile set.
- See the two end tile given below:
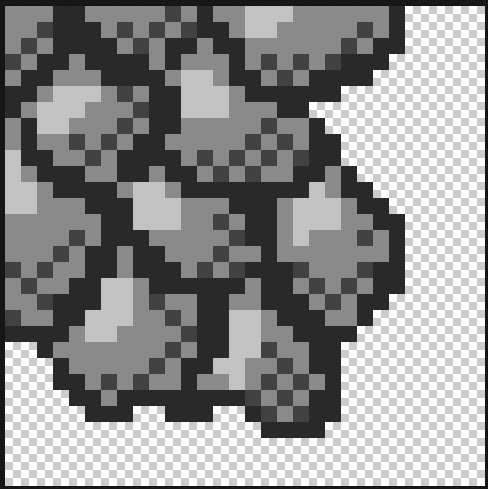
- Re-crop some of the tile part again and it becomes a two end tile.
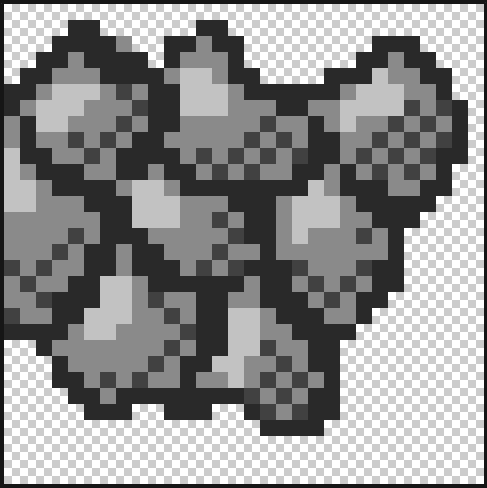
- A three end tile can be joined to one side.
- See the example –
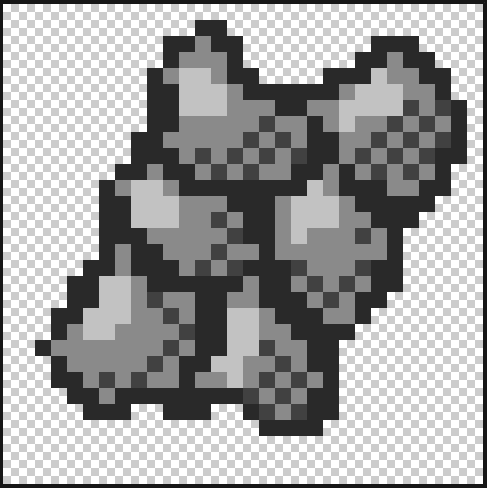
- A tile which does not have any side that can be joined to other tile is a four end tile. It stands individual.
- You may think of more and more shapes and combinations as per your requirement and can create a large number of tile from the same tile set.
- Hope you enjoyed and learnt something more about pixel art from this blog. Be connected for more Pixel art updates. Thanks You.
I hope you will find this blog is very helpful while working with Pixel Tile Set. Let me know in comment if you have any questions regarding Photoshop. I will reply you ASAP.
Got an Idea of Game Development? What are you still waiting for? Contact us now and see the Idea live soon. Our company has been named as one of the best Game Development Company in India.

I am 2D game graphics designer at TheAppGuruz, I designed graphics for many 2D games. Here I am writing blog about one of my favorite concept of 2D graphics; love to share this with you.
How to Add Collider to Line Renderer in Unity
Unity - CSV Parsing in Unity
