Be patient..... we are fetching your source code.
Objective:
Main Objective of this blog post is to explain how to Integrate Facebook in an Android Studio. We'll get started with Android Facebook login tutorial and than we'll move towards other operations with FB.
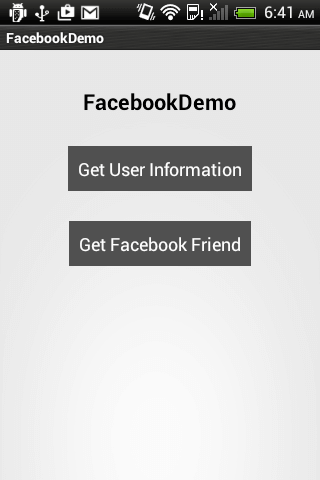
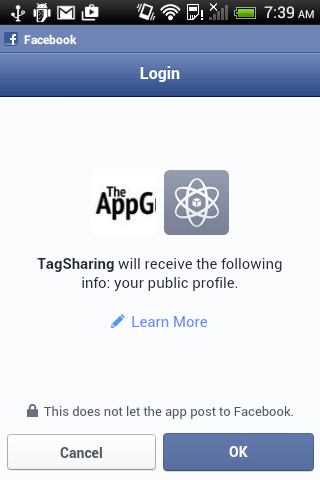
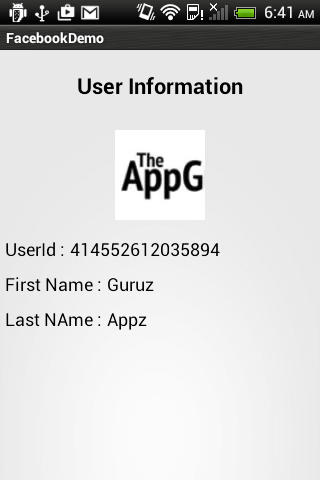
You will get Final Output:
Step 1 Download Facebook SDK
For our Facebook login Android tutorial, we first need to Download Facebook SDK for Android.
After you are done downloading, please import it in Android Studio.
- Download Link: https://developers.facebook.com/docs/android/
Step 2 Create New Project in Android Studio
If you are new to Android Studio and don't know how to create a new project then you should checkout our other blog:
Step 3 Link Facebook SDK
Link downloaded Facebook SDK as library project with demo application:
Add Module Dependancy For Facebook SDK
If you are not aware about how to add module dependency in Android, please refere the following blog.
Step 4 Get Key Hash Value
Now you need to Get Key Hash Value for your machine. The key hash value is used by Facebook as security check for login. To get key hash value of your machine, write following code in onCreate() method of MainActivity.java
try {
    PackageInfo info = getPackageManager().getPackageInfo(
    getPackageName(), PackageManager.GET_SIGNATURES);
    for (Signature signature : info.signatures) {
        MessageDigest md = MessageDigest.getInstance("SHA");
        md.update(signature.toByteArray());
        Log.d("KeyHash:", Base64.encodeToString(md.digest(), Base64.DEFAULT));
    }
} catch (NameNotFoundException e) {
} catch (NoSuchAlgorithmException e) {
}
Step 5 Create Facebook App
We need to create facebook app in order to get Facebook App ID. To do so, create an application on FB developer site.
Go to https://developers.facebook.com/
After login, click on Add a New App.
Type your application name.
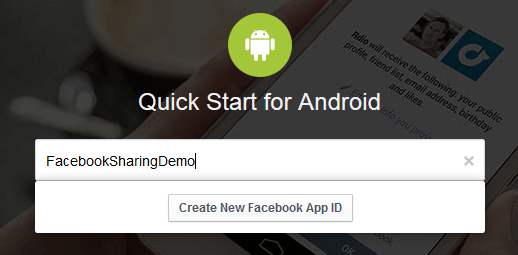
Choose category and click on Confirm.

Once application is created, go to application dashboard and note down App ID.
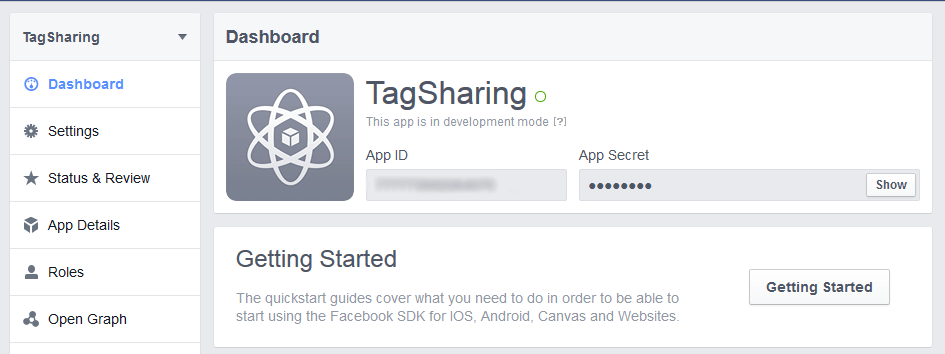
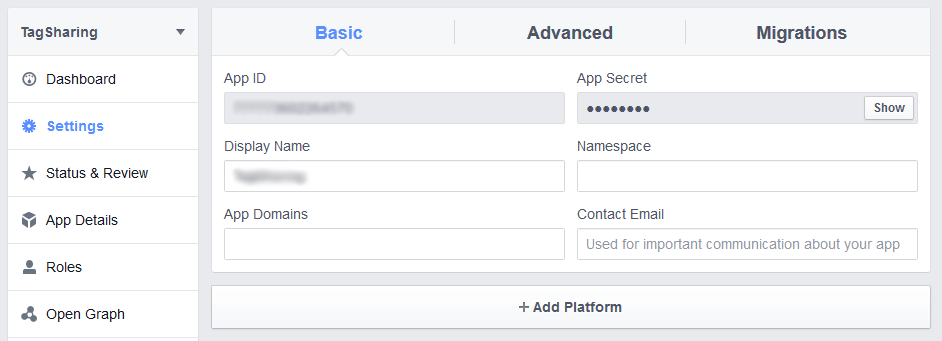
To register package and activity, go to Settings from left menu and click on Add Platform and select Android.
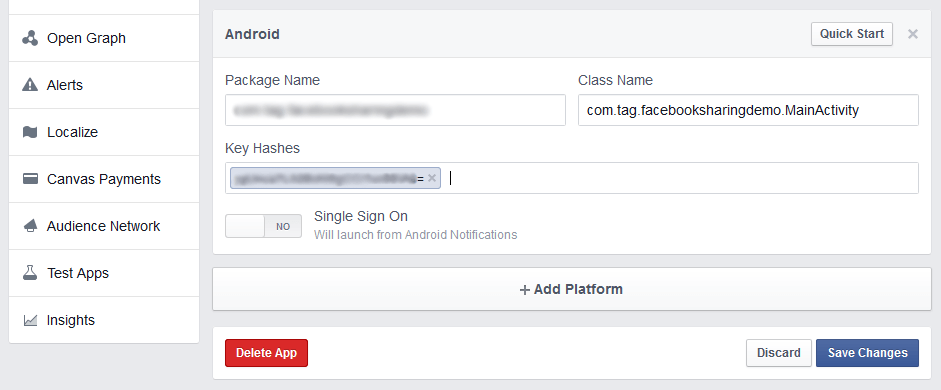
Register your application package name and activity which uses Facebook sharing. And add key hash values explained in Step 4.
Step 6 Add App ID
Add App ID in strings.xml file of your project. put your app id in place of "your app_id".
<string name="app_id">your app_id</string>
Step 7 Changes in Manifest file
Open AndroidManifest.xml of project. Make following changes:
Add Internet Permission:
<uses-permission android:name="android.permission.INTERNET">
Add meta data in tag:
<meta-data
android:name="com.facebook.sdk.Application"
android:value="@string/app_id">
Add New Activity:
<activity android:name="com.facebook.LoginActivity">
Step 8 Facebook Login
To integrate Facebook Login in Android application, call Session.openActiveSession() method of Session class in MainActivity.java.
This method of Session class is used for Facebook login.
This method takes 3 arguments:
1. Activity
2. Boolean variable to indicate Login UI to be used or not
3. And call back to be called when status of session is changed.
Session.openActiveSession(this, true, new Session.StatusCallback() {

    // callback when session changes state
    @Override
    public void call(Session session, SessionState state, Exception exception) {

    }
  });
Step 9 Successful Login
Now since we are done with the Facebook login integration in Android, we need to Handle onActivityResult() in MainActivity.java
@Override
public void onActivityResult(int requestCode, int resultCode, Intent data) {
super.onActivityResult(requestCode, resultCode, data);
Session.getActiveSession().onActivityResult(this, requestCode,
resultCode, data);
}
}).executeAsync();
Step 10 Fetching User Data
In our Facebook Integration in Android Studio example, to get user info, following permissions are required:
- strong > basic_info
Once Facebook login is completed, call() method of StatusCallback() is called.
Inside call() method, newMeRequest() method would be executed.
After request execution, callback will be called and returns object of GraphUser.
This request will only return friends from friend list who have used (via Facebook Login) the app making the request.
Request.newMyFriendsRequest(session, new GraphUserListCallback() {
    @Override
    public void onCompleted(List users, Response response) {
        makeFacebookFriendList(users);
    }
}).executeAsync();
To get friends list following permission is required:
- user_friends
Note
The following permission is granted by Facebook:
- public_profile
- user_friends
If you need more permissions other than mentioned above, you'll need to submit the app to Facebook for review.
I hope you have learnt how to integrate Facebook Login in Android applicaiton and you are well versed with fetching data from Facebook. If you are facing any issues or have any questions, please feel free to post a reply over here, I would be glad to help you.
Also check out following Android Integration:
Learning Android sounds fun, right? Why not check out our other Android Tutorials?
Got an Idea of Android App Development? What are you still waiting for? Contact us now and see the Idea live soon. Our company has been named as one of the best Android App Development Company in India.

I am Android Developer, as a developer my basic goal is continue to learn and improve my development skills , to make application more user friendly.
