To download the code, login with one of the following social providers.
Login
Be patient..... we are fetching your source code.
Objective
Main objective of this post is to give you an idea about how to build iOS outlet and Action via Drag and Drop Method
Introduction
Outlet and Action can be defined as a property that is interpreted with the symbol IBOutlet and IBAction respectively, where IB knows as Interface Builder. Both Outlet and Action are related to UI Elements, this demo will explore how to implement over it. In iOS, we can use Outlet and Action to connect our code with various UI Elements available in User Interface. Outlets can be served as references of the object and Actions can be served as method as in object oriented programming.
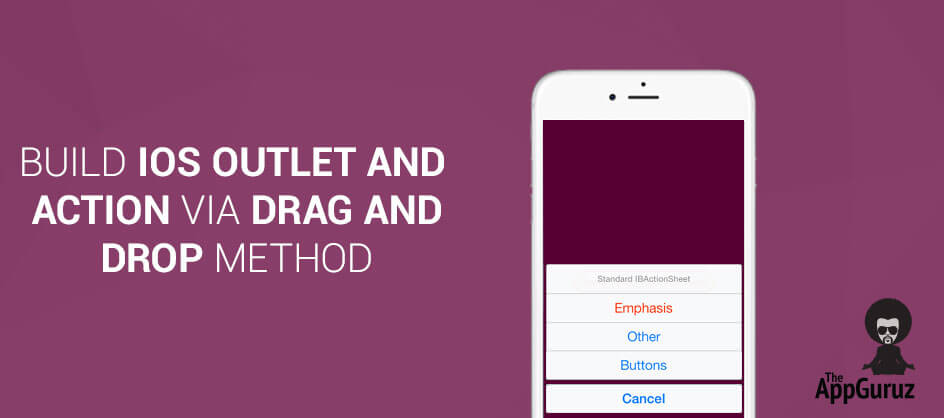
You will get Final Output:

There are few simple steps to create outlets and actions. You can create it via code or interface builder. Here we are going to create a iPhone single view application named DemoApplication, following steps gives you a brief description about all the steps that you have to go through for creating outlets and actions.
Step 1 Select Storyboard from Menu
Now from the project Navigation section , select Main_iPhone.storyboard, from that select main ViewController.
Step 2 Add UI control on screen
Now add UI elements from the object library pane from bottom right side of our window, which is shown below.

You can drag and drop various UI elements to our view which is available in our Main_iPhone.storyboard. Here we are adding UIButton & UILabelto ViewController as shown in following figure.

Step 3 Open Assistant Editor
From the workspace toolbar select Assistant Editor Button. You can get brief idea from following screen.

Step 4 Split Screen in Xcode
We will see two windows in our editor area in the center, one is Main_iPhone.storyboard and other is "ViewController.h".

Step 5 Create New Reference outlet
Now right click on the UIlabel and select, hold and drag new referencing outlet as shown below.

Step 6 Create Outlet for Control
Now drop in the ViewController.h in between block of @interface and @end.Now a pop up will appear as shown below. Now give the name of the UILabel for outlet, in our case it is lblTemp. Now click on the connect button and IBOutlet will be completed.

Step 7 Create Action for Button
Same way hold drag and drop new Action for UIButton shown below. From popover select Action as Connection, Touch Up Inside as Event, and give appropriate name for action. In our case we set btnClicked as its action name. You can find all these in following figure.

Step 8 Implementation file
Now select "ViewController.m" file, following method is available in the file.
-(IBAction)btnClicked:(id)sender
{
}
Write following line of code within above method, so that when you click the above button appropriate title will be set to given label.
[lblTempsetText:@”Hello”];
I hope you found this blog helpful while Build iOS Outlet and Action via Drag and Drop Method. Let me know if you have any questions or concerns regarding iOS, please put a comment here and we will get back to you ASAP.
Got an Idea of iPhone App Development? What are you still waiting for? Contact us now and see the Idea live soon. Our company has been named as one of the best iPhone App Development Company in India.

I am iOS developer, as a developer my basic goal is continue to learn and improve my development skills , to make application more user friendly.
Set Custom Fonts using .ttf file to your iOS app
Ultimate iOS File Management Tips