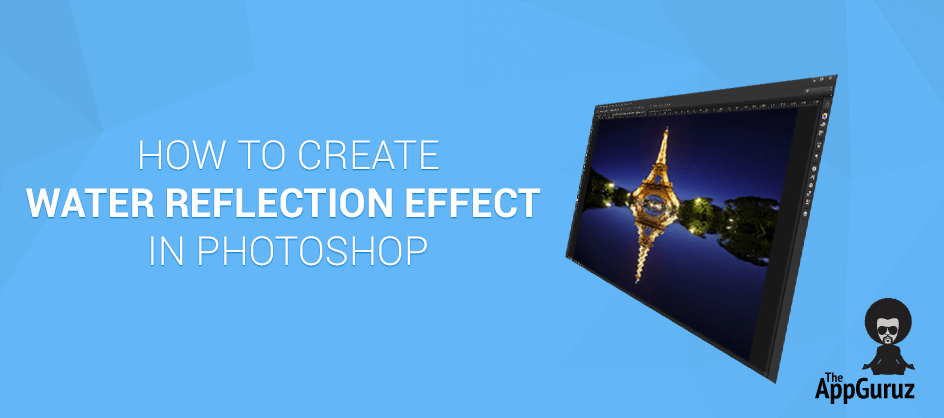
- Final Output
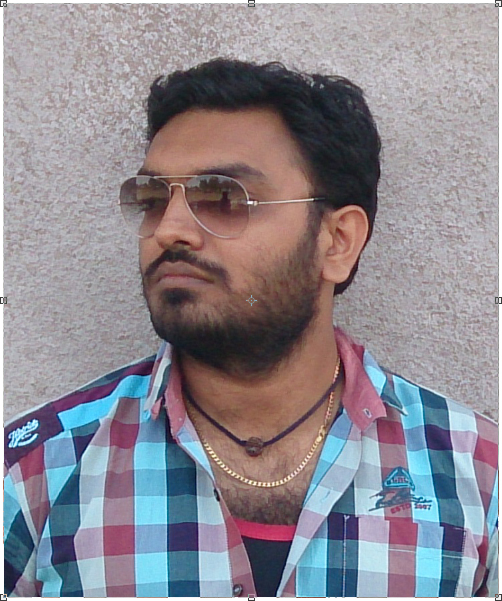
- Choose an Image For Reflection
- Duplicate the image layer and flip it vertically
- Create a pattern for water effect
- Apply Gaussian Blur
- Create new document from the layer
- Merge the layers
- Apply Displace filter
- Add layer mask for remove unwanted part
- Set the gaussian blur
- Set Hue/Saturation
- Decrease the opacity
Objective
This blog post will help you to create water reflection effect on any image using Photoshop.
Step 1 Final Output

Step 2 Choose an Image for Reflection

Here, the image resolution is 1012 x 512.
Create a new document which is double the main image height.

Place the image at the top of the canvas.
Step 3 Dublicate The Image Layer and Flip it Vertically
Duplicate the image layer as reflection is exactly the opposite of the object which is being reflected. We need to flip the top layer (the one that we duplicated) vertically.

Step 4 Create a Pattern for Water Effect
Take a new blank layer. Fill that layer with white color.
Go up to the Filter gallery at the top of the screen, choose Sketch, and then choose Halftone Pattern. We're going to use this filter to add a series of black and white horizontal lines to the image. These lines are going to be our water ripples. The more lines we have, the more ripples we'll have.

Select Halftone pattern, then select size “7” and contrast “50”. And then select pattern type “Line”.
We will get the below type of pattern on our blank white layer.

Step 5 Apply Gausian Blur
Before we use our black and white lines as water ripples, we need to smooth them out. Go up to the Filter menu once again, choose Blur> Gaussian Blur. Set radius to 4.0 or according to your need.

It will look something like this.
Step 6 Create New Document From The Layer
Now we need to create a new document from this line layer. Go to the layer menu and select duplicate layer. Select new in Document option. Save the new document.

6.1 Delete The Line Layer From The Main Document

Now we Have 2 layers. 1st main image and other flipped one. Now merge both layers in one layer.
Step 7 Merge the Layers
Press Shift+Ctrl+Alt+E to merge both the layers.

Step 8 Apply Displace Filter
Now use the "Displace" Filter to Create the Water Ripples. Go to the Filter menu> Distort>Displace. In the dialog box that appears, set Horizontal scale “4” and vertical scale “0”. Make sure that Stretch to fit and Repeat Edge Pixels are selected. Press ok.

A dialog box will appear and will ask for the file you want to use for displace. Select the file you saved with lines effect. Now you’ll be able to see ripples in your image.

Step 9 Add Layer Mask For Remove Unwanted Part
We now need to remove the ripples from upper part of the image.
Make a rectangle selection of half bottom of the layer and click on the Layer Mask icon at the bottom of the Layers palette.

It will add a layer mask to the selected layer, and because we had a selection around the bottom half of our document, only the bottom half of the merged layer remains visible. The top half becomes hidden from the view, deleting the unwanted water ripples from that part of the image.

Step 10 Set The Gaussian Blur
Now we have ripples effect only in the bottom of our image. But still we have to give some more water effect to the bottom part of the image. For that, go to the Filter menu, select Blur once again, and then select Gaussian Blur. When the dialog box appears, simply click on OK to apply the same radius value that we had used previously.
Now, we need to give some colour effect to the water. For that click on the New Adjustment Layer icon at the bottom of the Layers palette, then select Hue/Saturation from the list of adjustment layers.

Step 11 Set Hue/Saturation
In that Hue/Saturation we will set the value as shown below.
Set value of Hue = 218, saturation = 25, lightness = 0.

Step 12 Decrease The Opacity
Now we have the colour of water. But we need to lessen the opacity.
So, make the opacity 25%.

When you lessen the opacity, you will be able to see the change in the reflection part. Now, you are done.
You will be able to see the difference between both the images.

I hope you enjoyed and learned something new about the Water reflection effect in photoshop. If you have any question or query regarding this blog post you can post your questions in comment.
Got an Idea of Game Development? What are you still waiting for? Contact us now and see the Idea live soon. Our company has been named as one of the best Game Development Company in India.
I am game graphics designer at TheAppGuruz. I love to share graphics design tips for making awesome graphics.